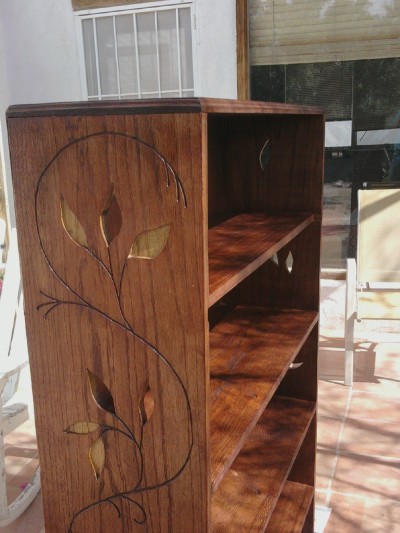

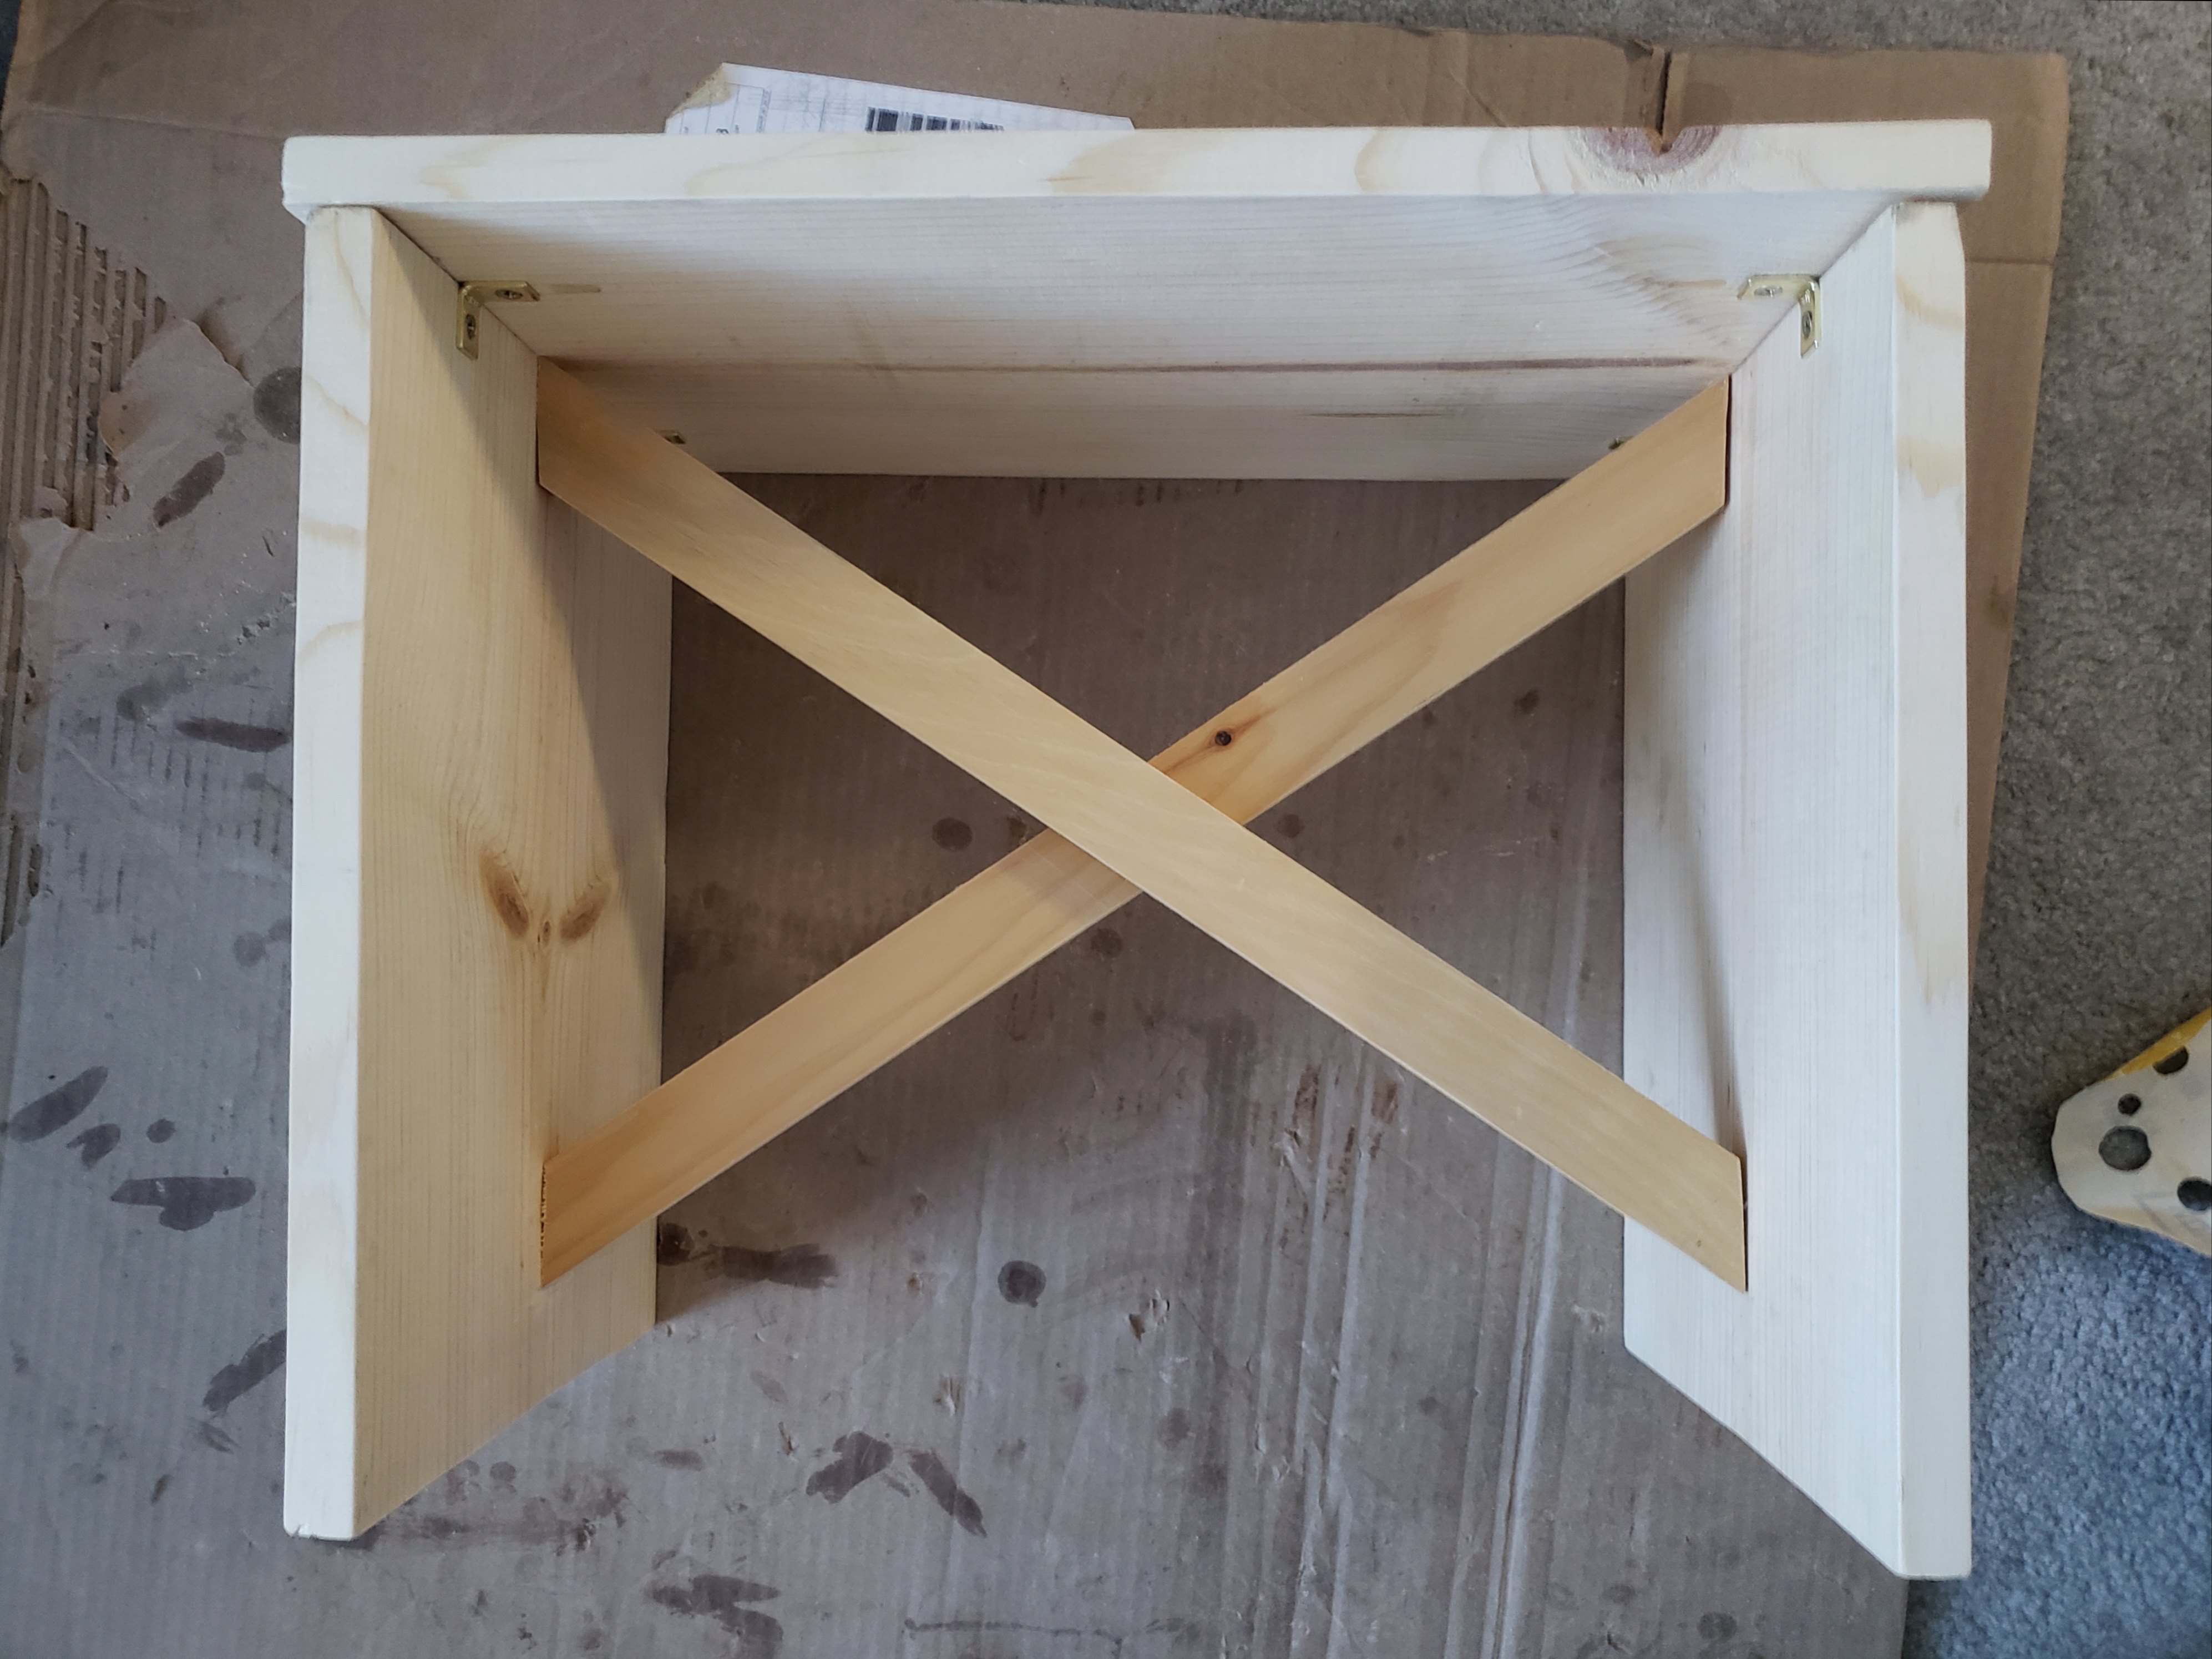
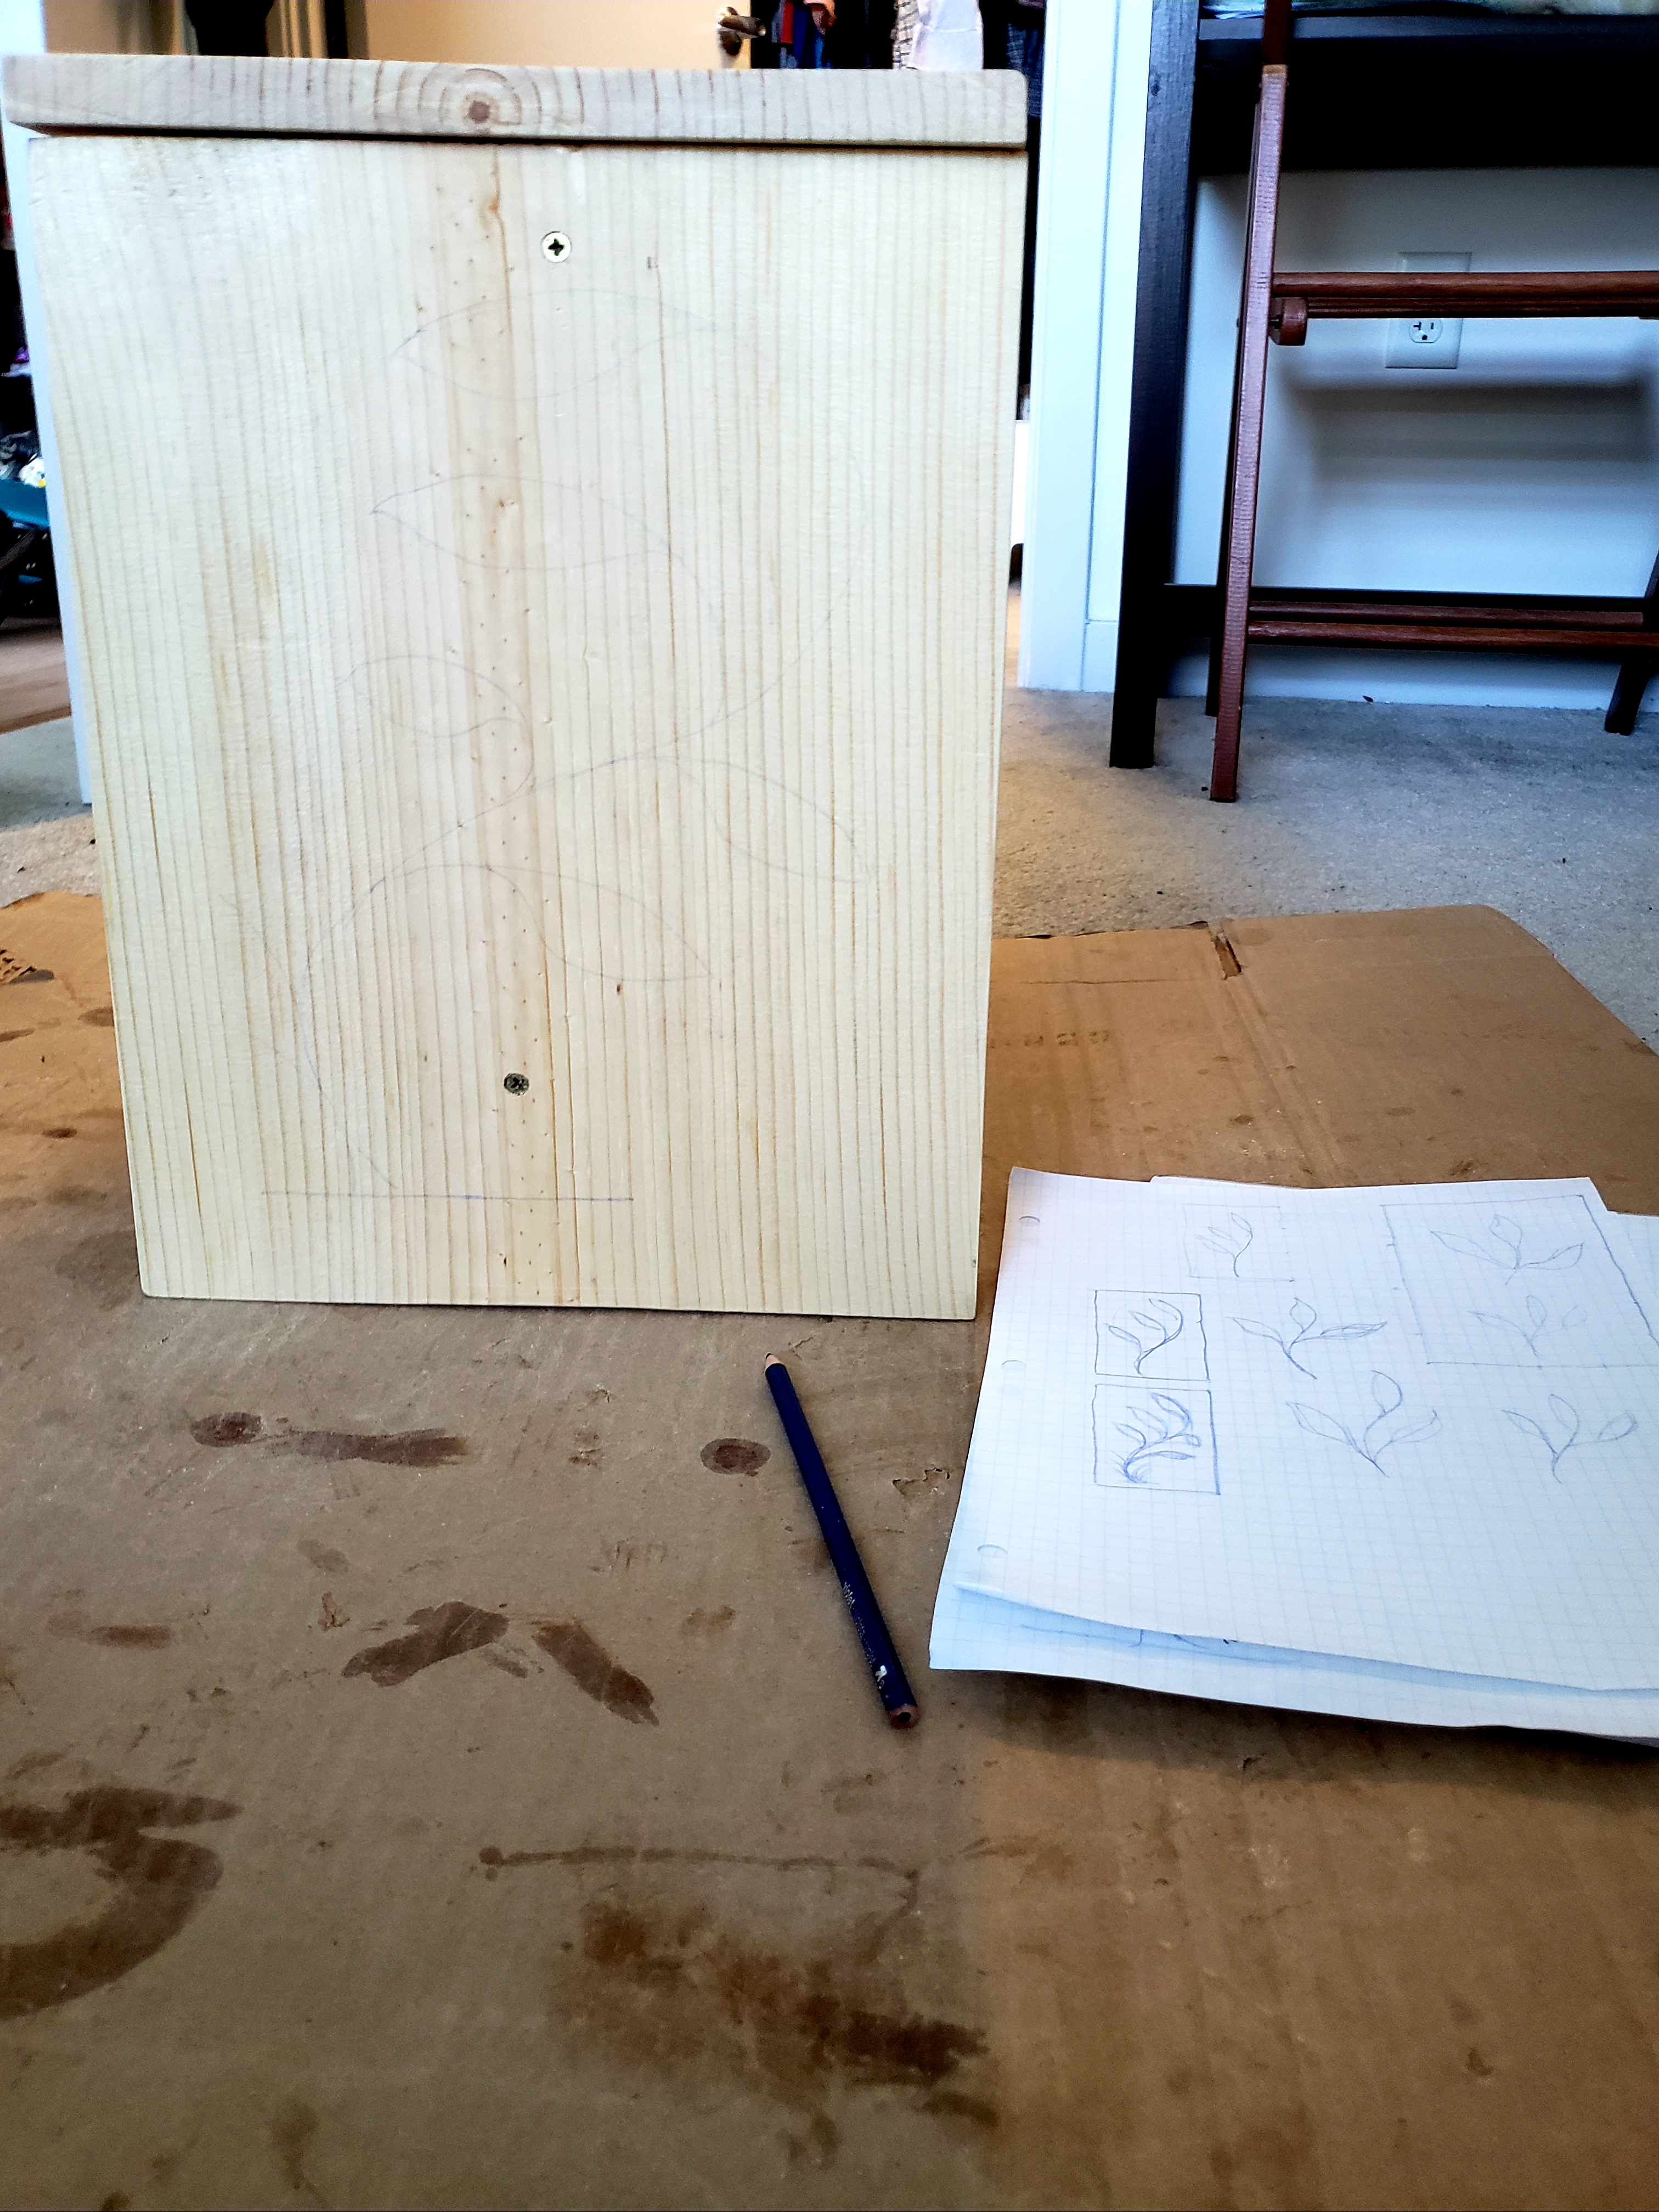
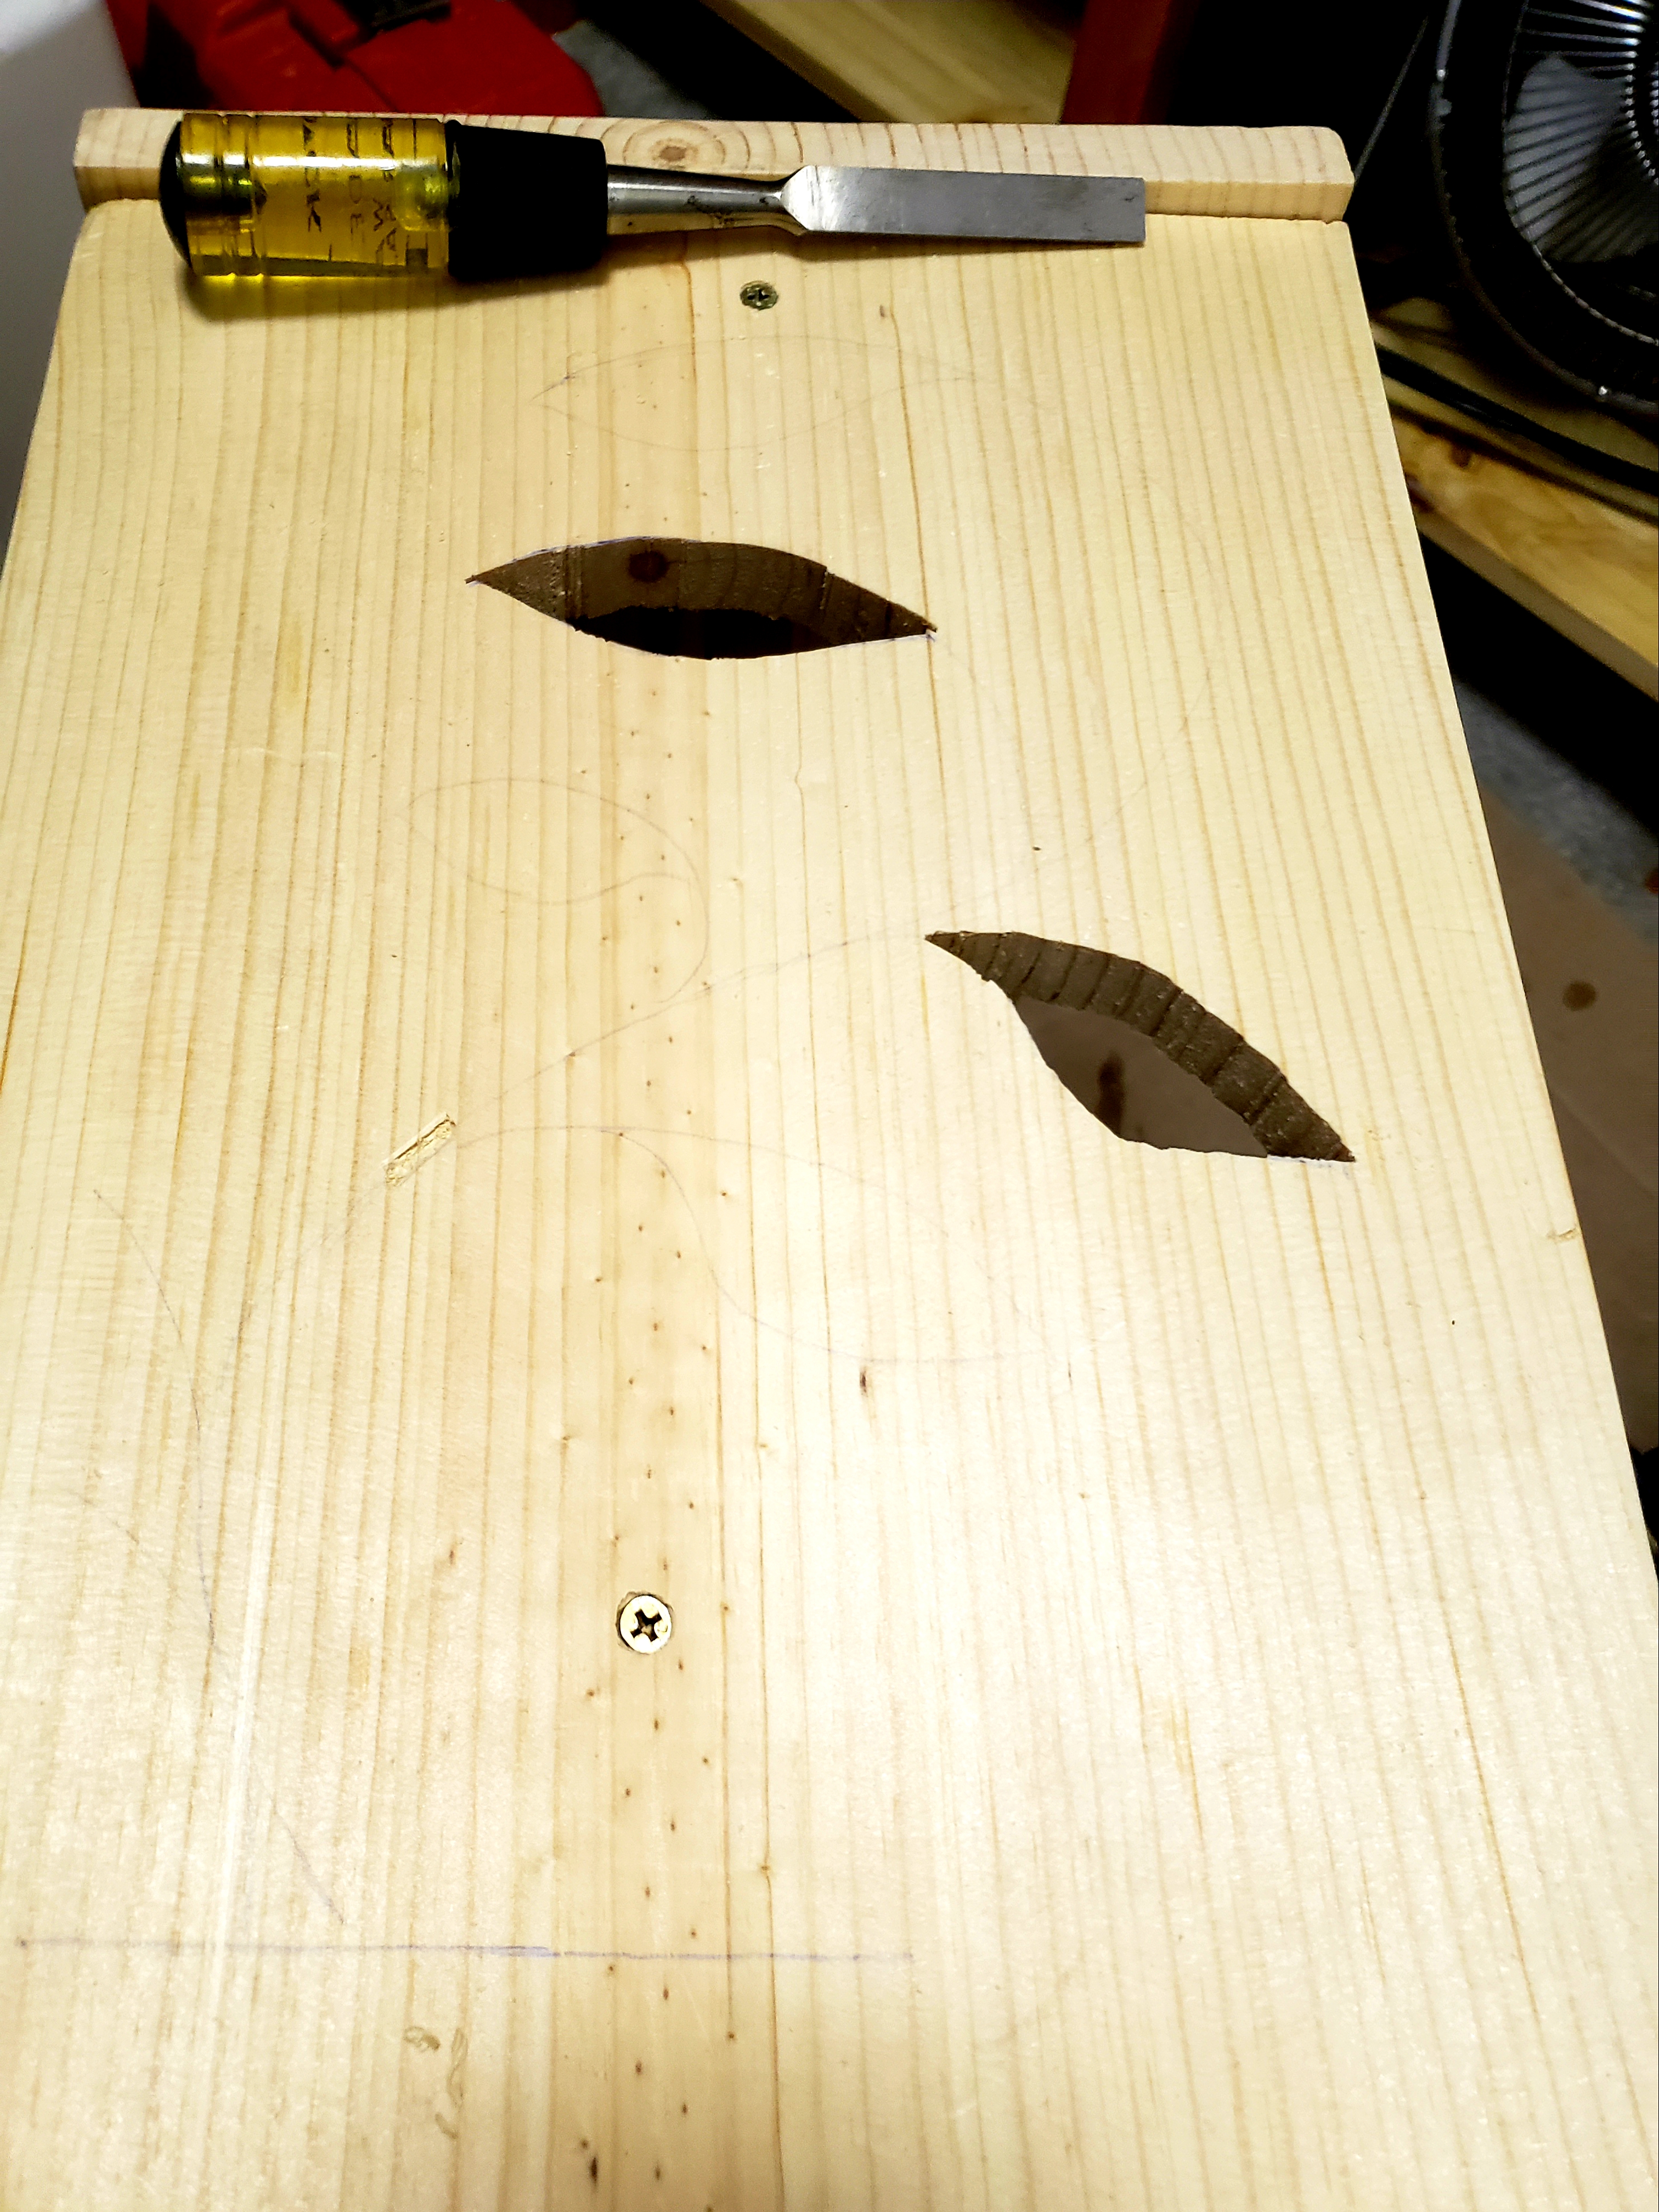
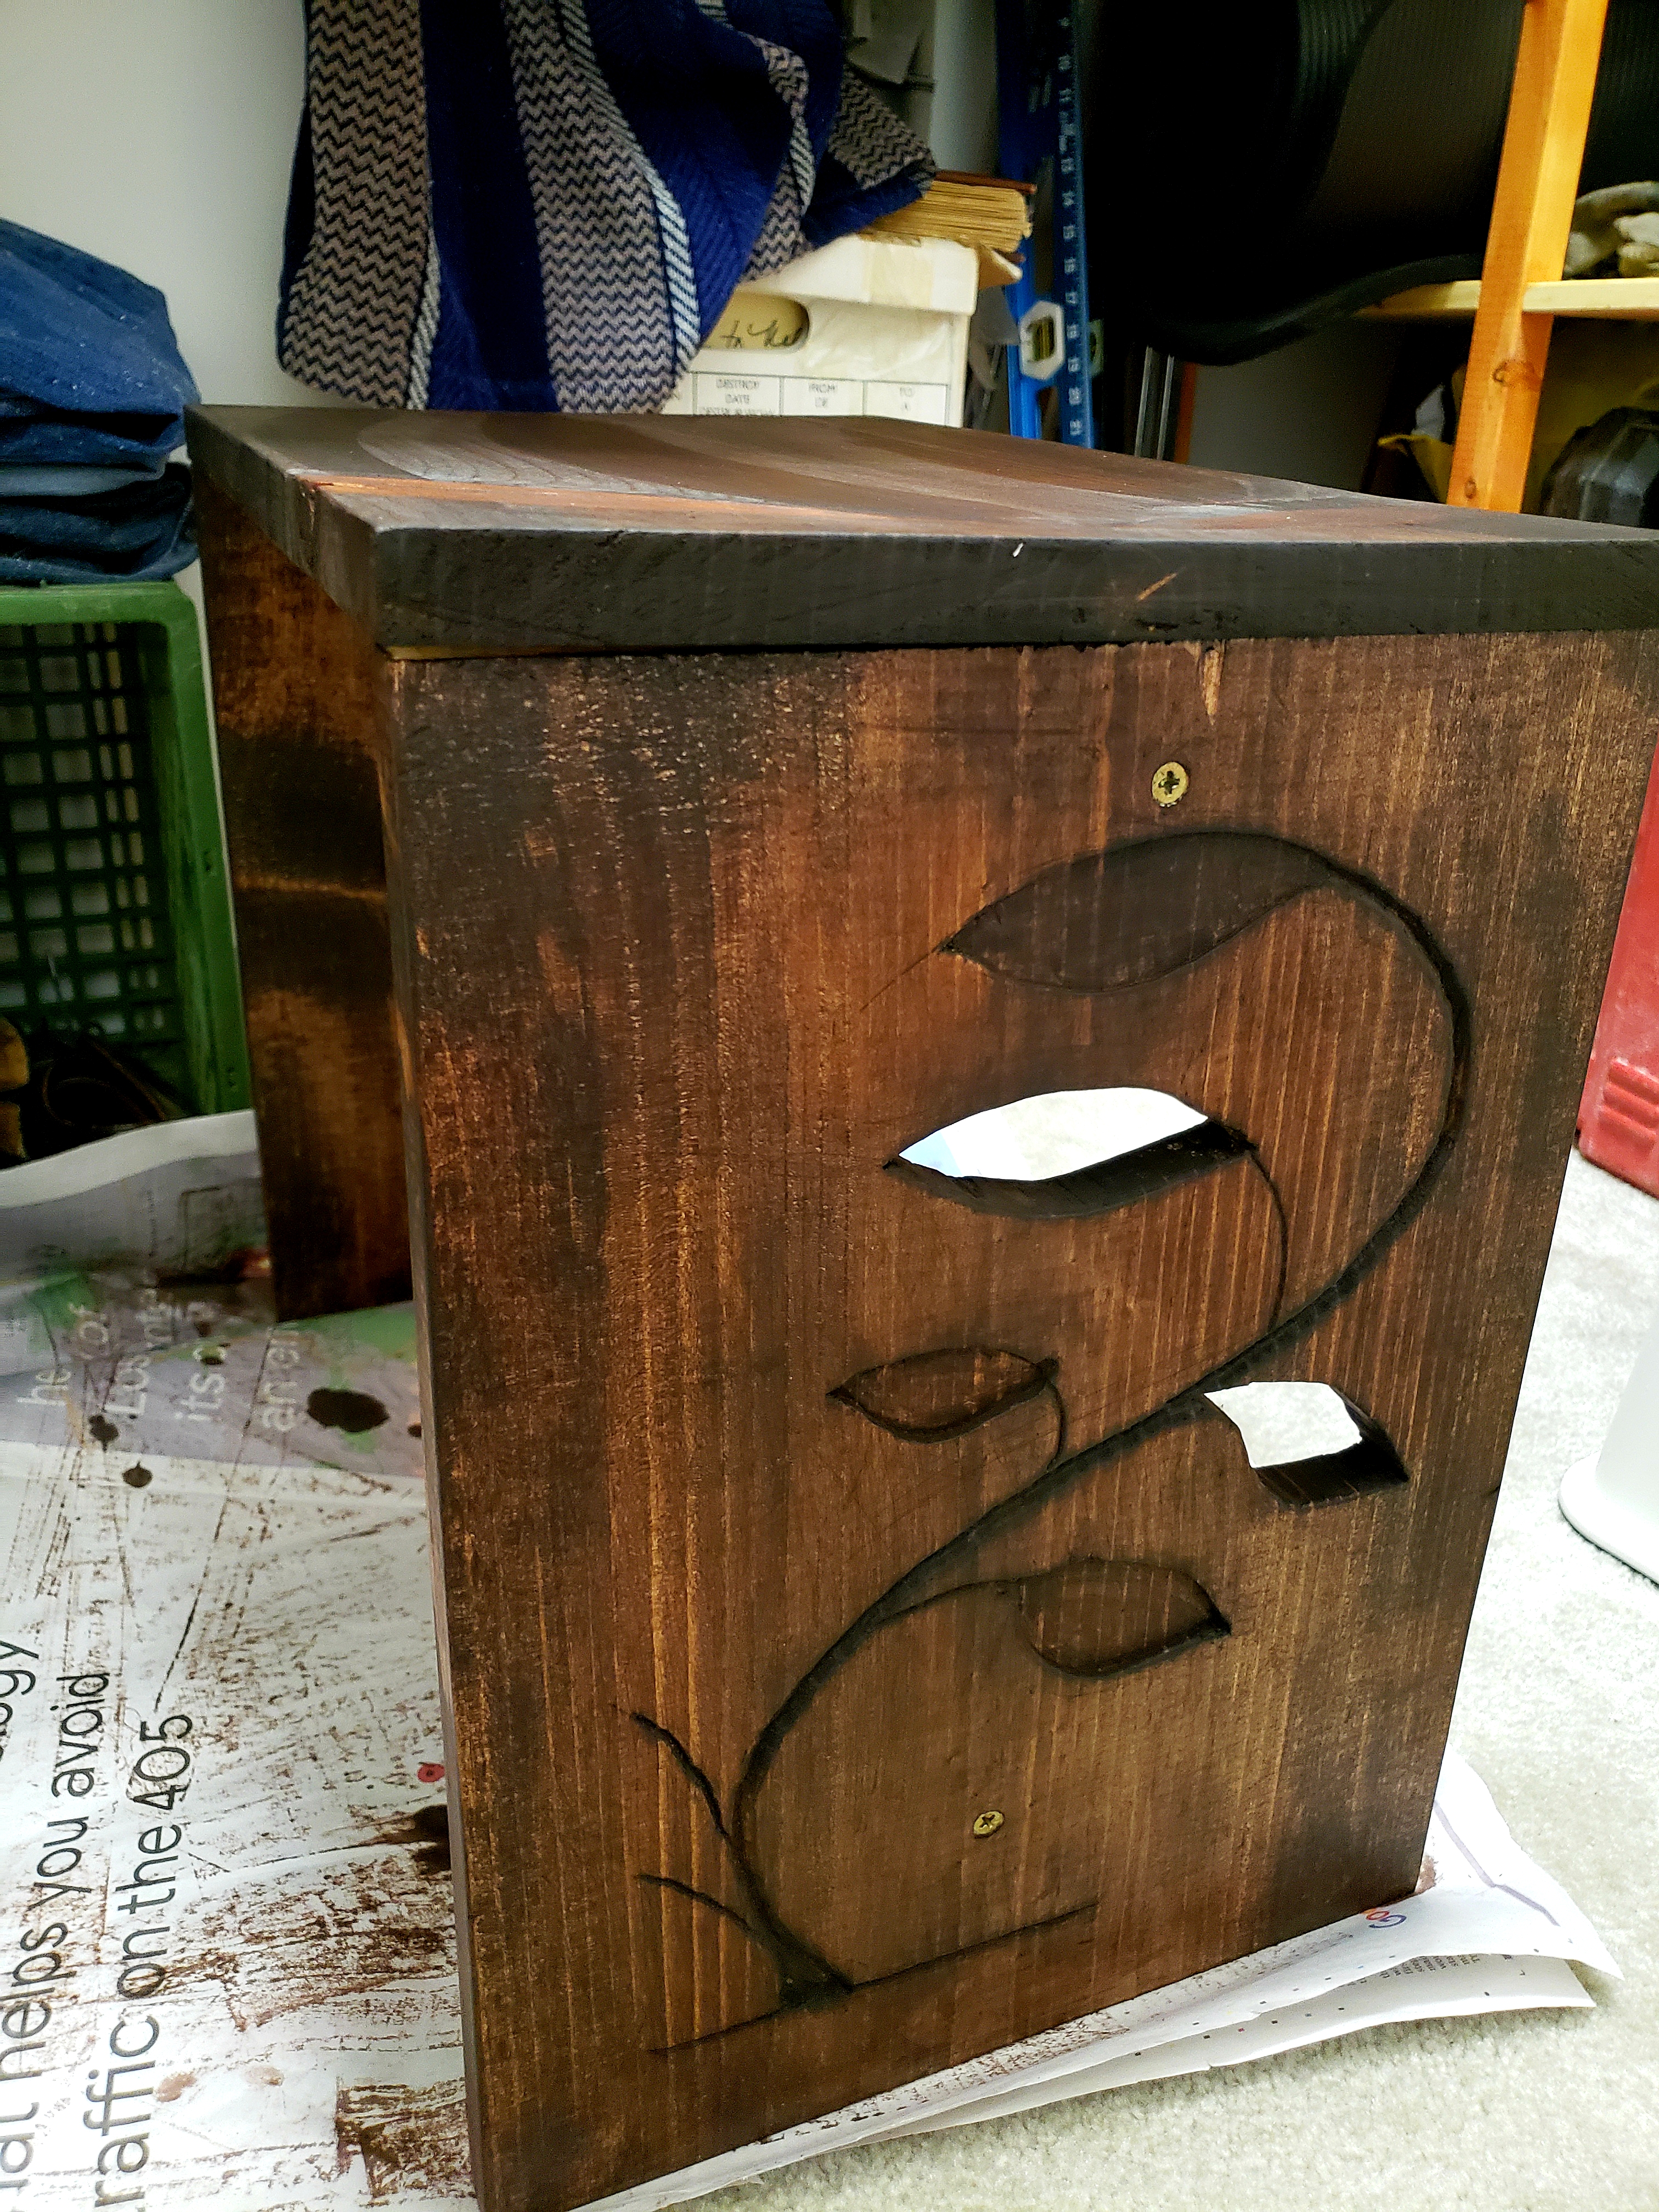
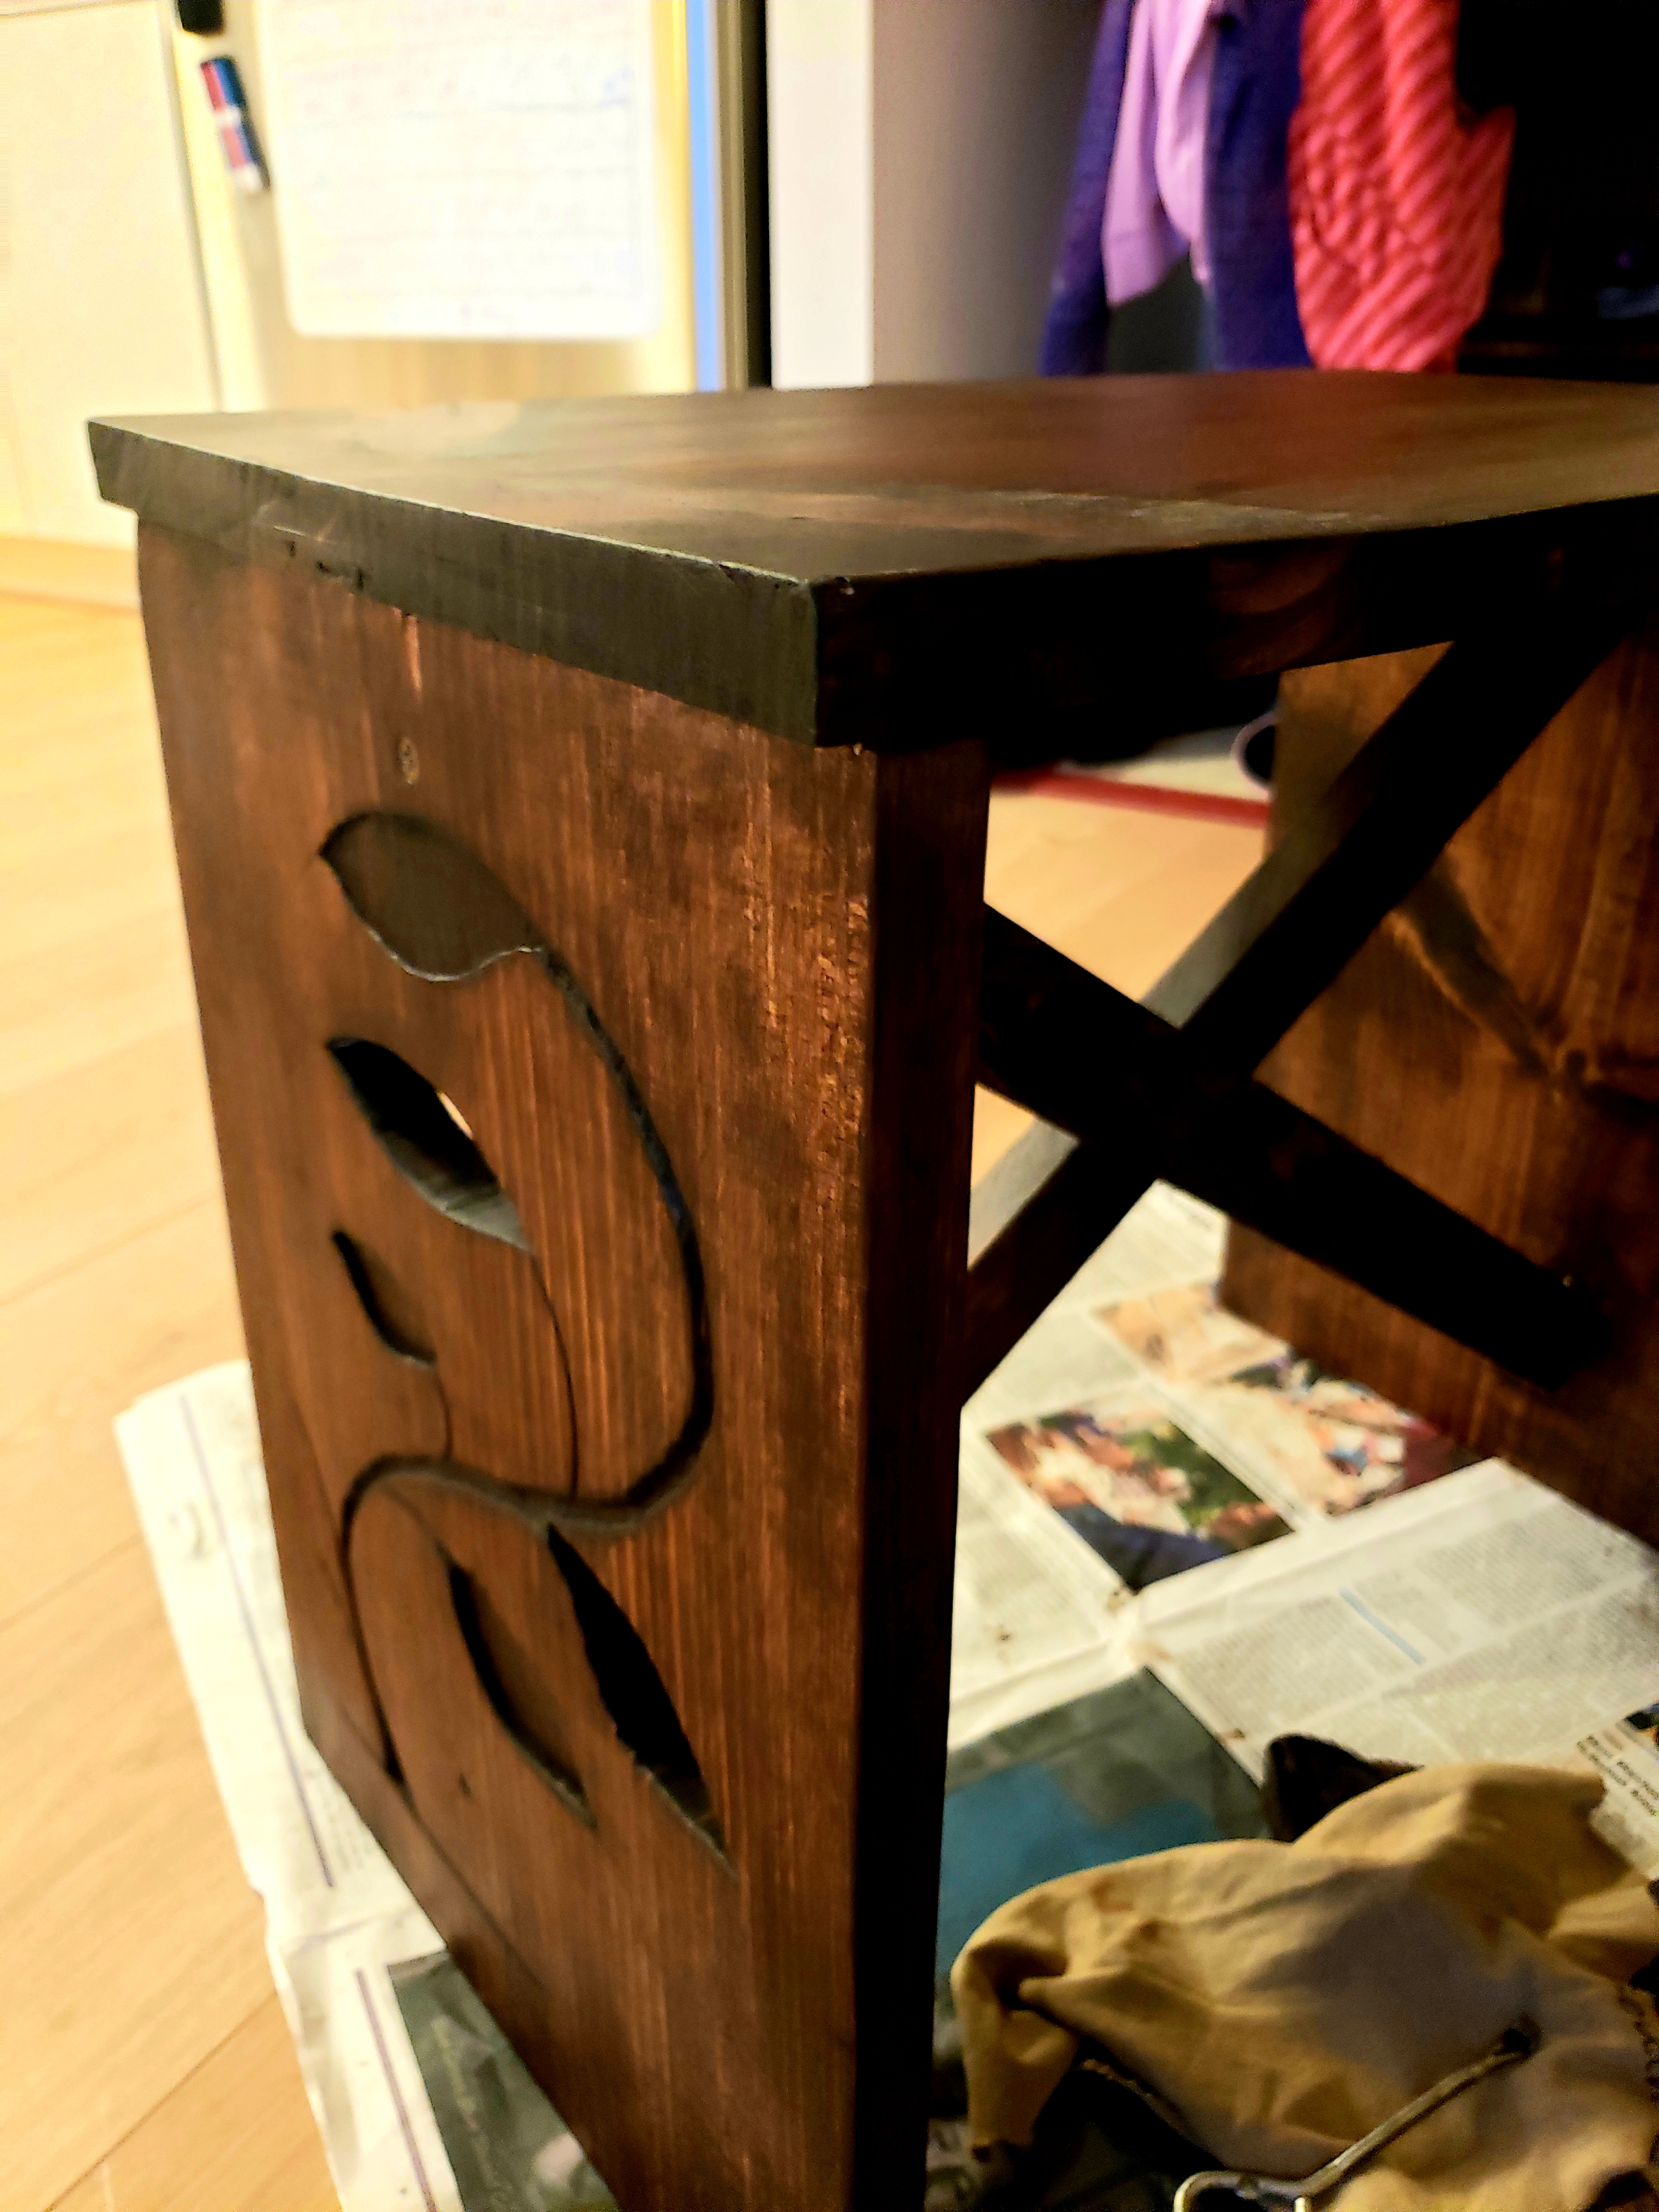
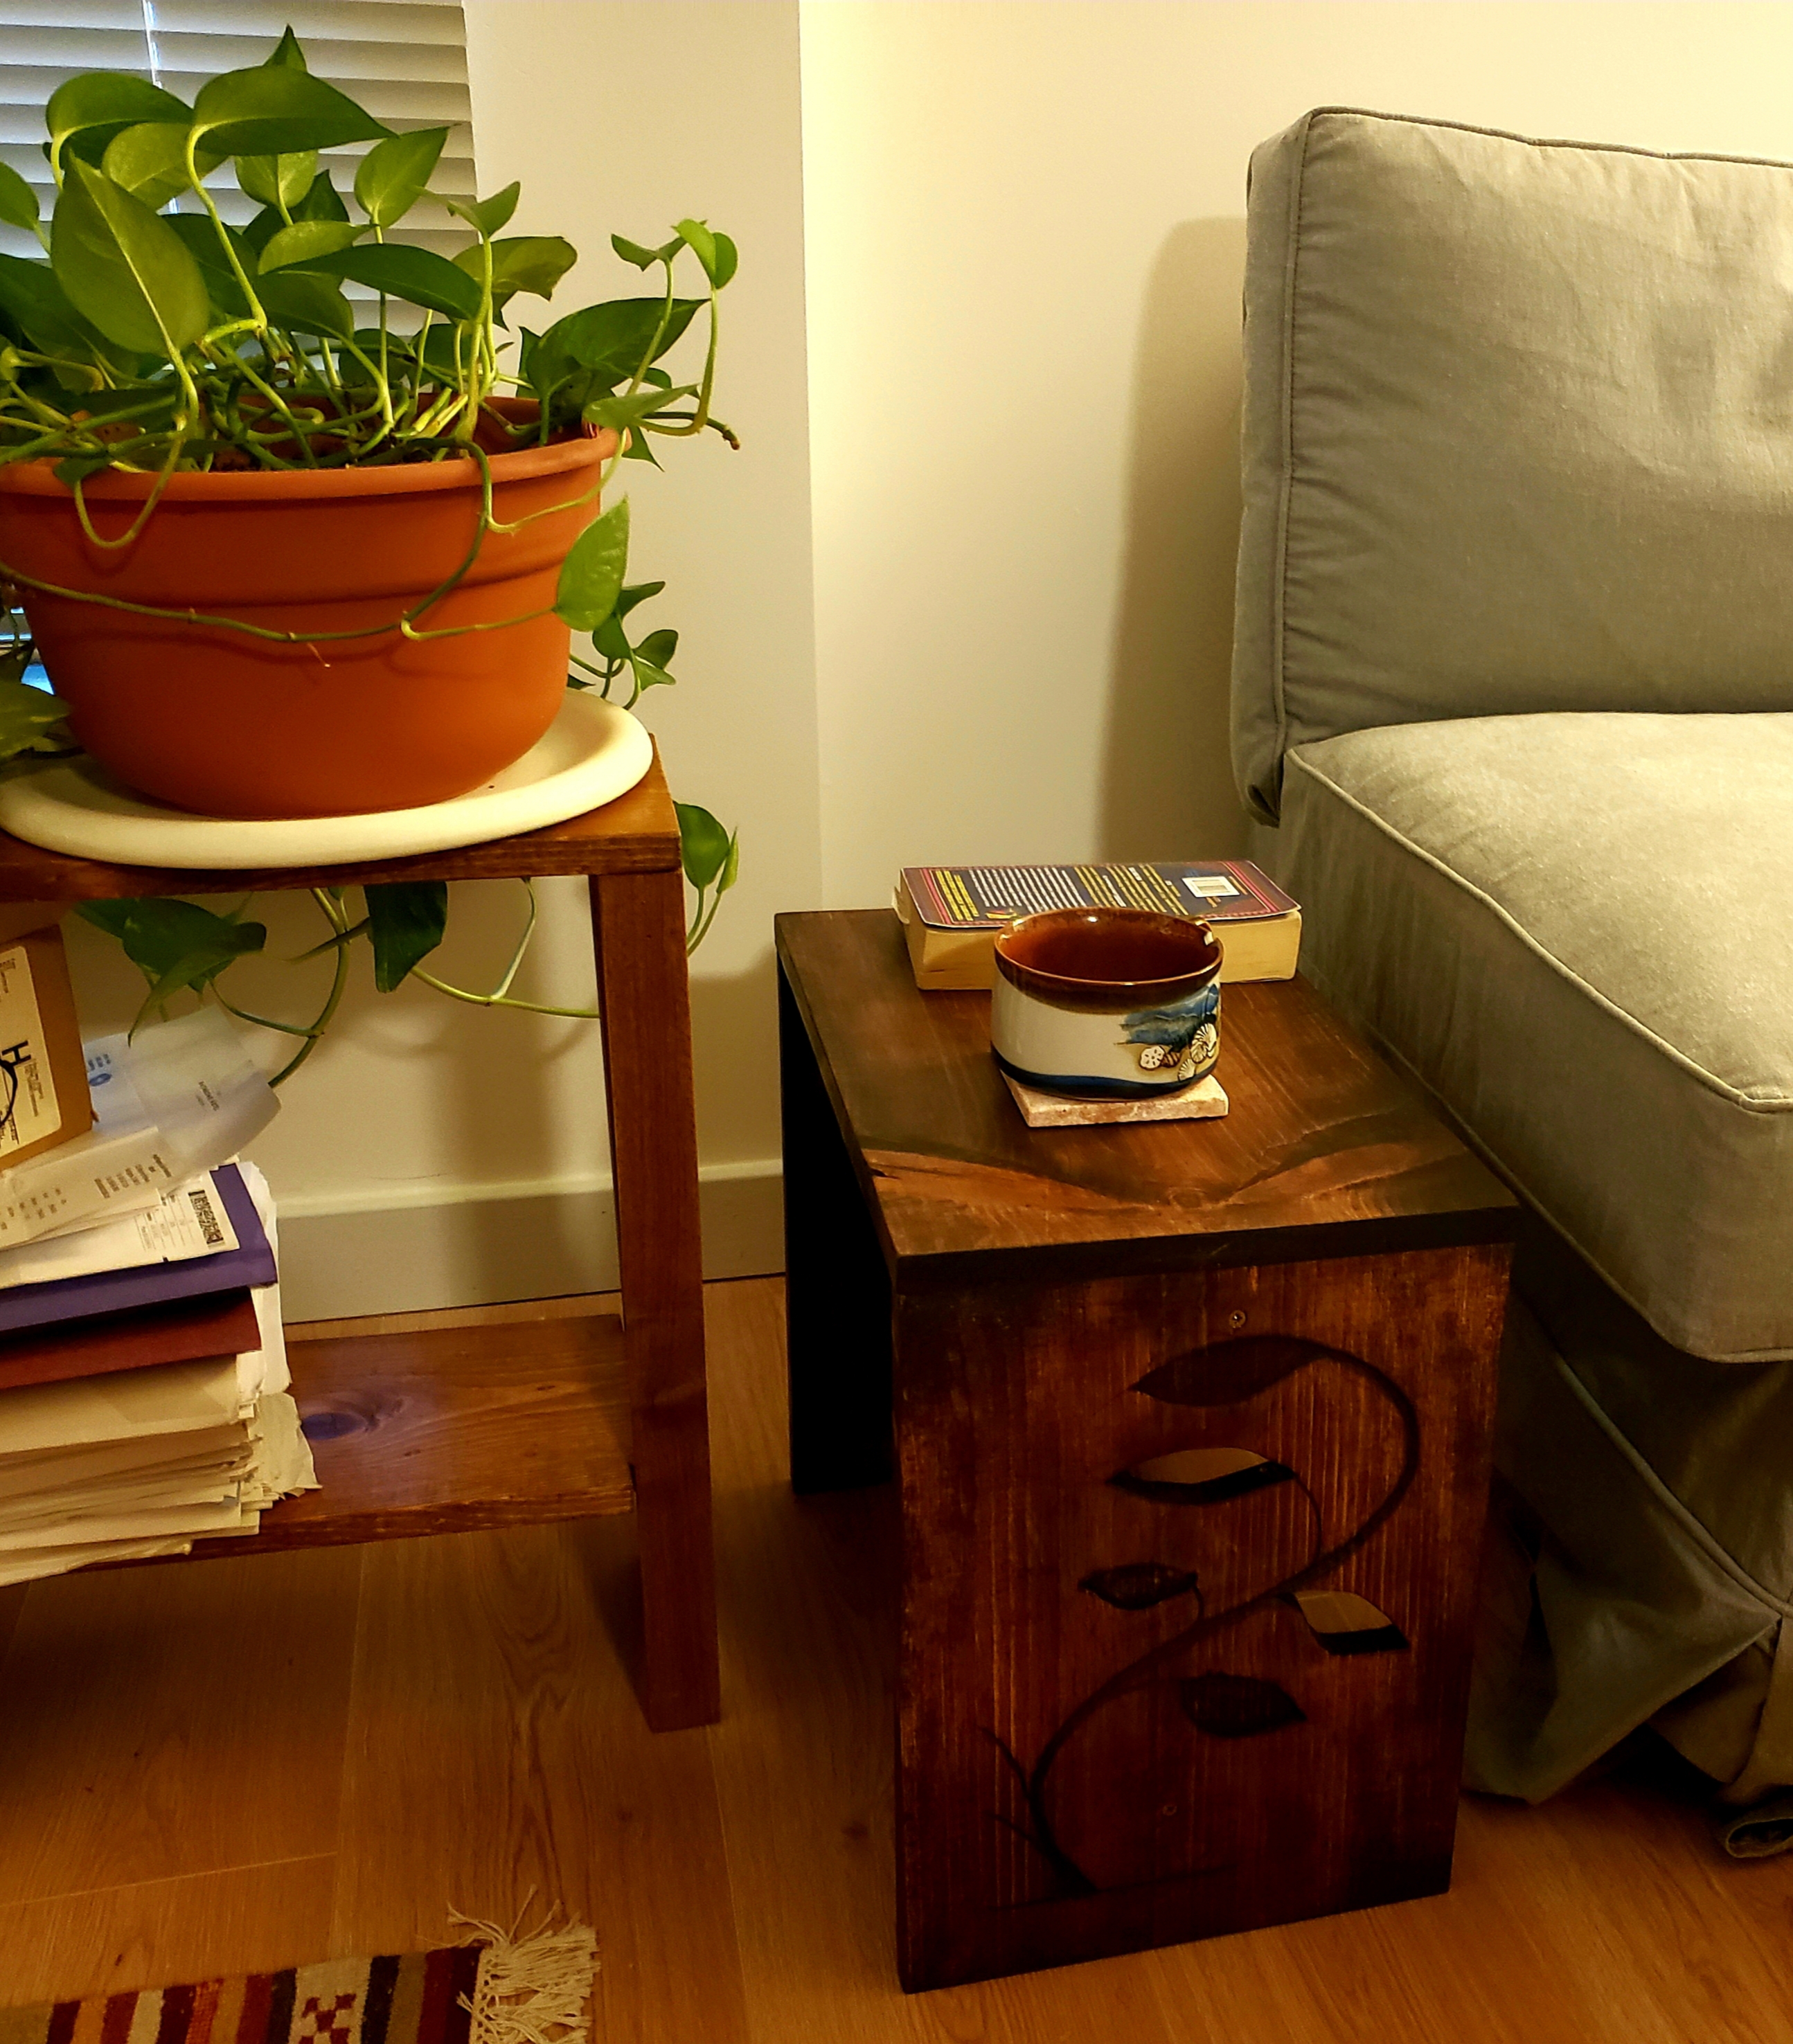
This is my sixth bookcase, made in May 2010. The vines were routed with a wedge bit. Some of the leaves were cut through with a jigsaw; the rest were routed 1/4” deep with a straight bit, then stained a lighter shade than the rest of the bookcase.
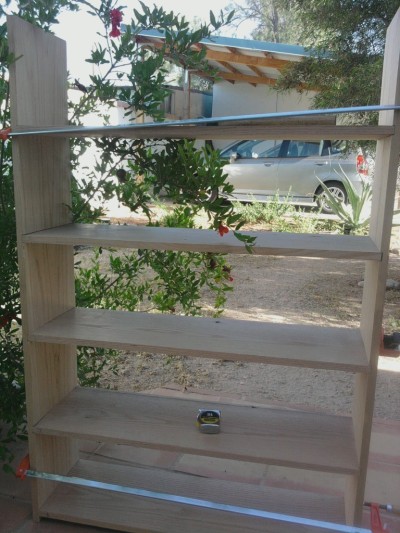
In progress:

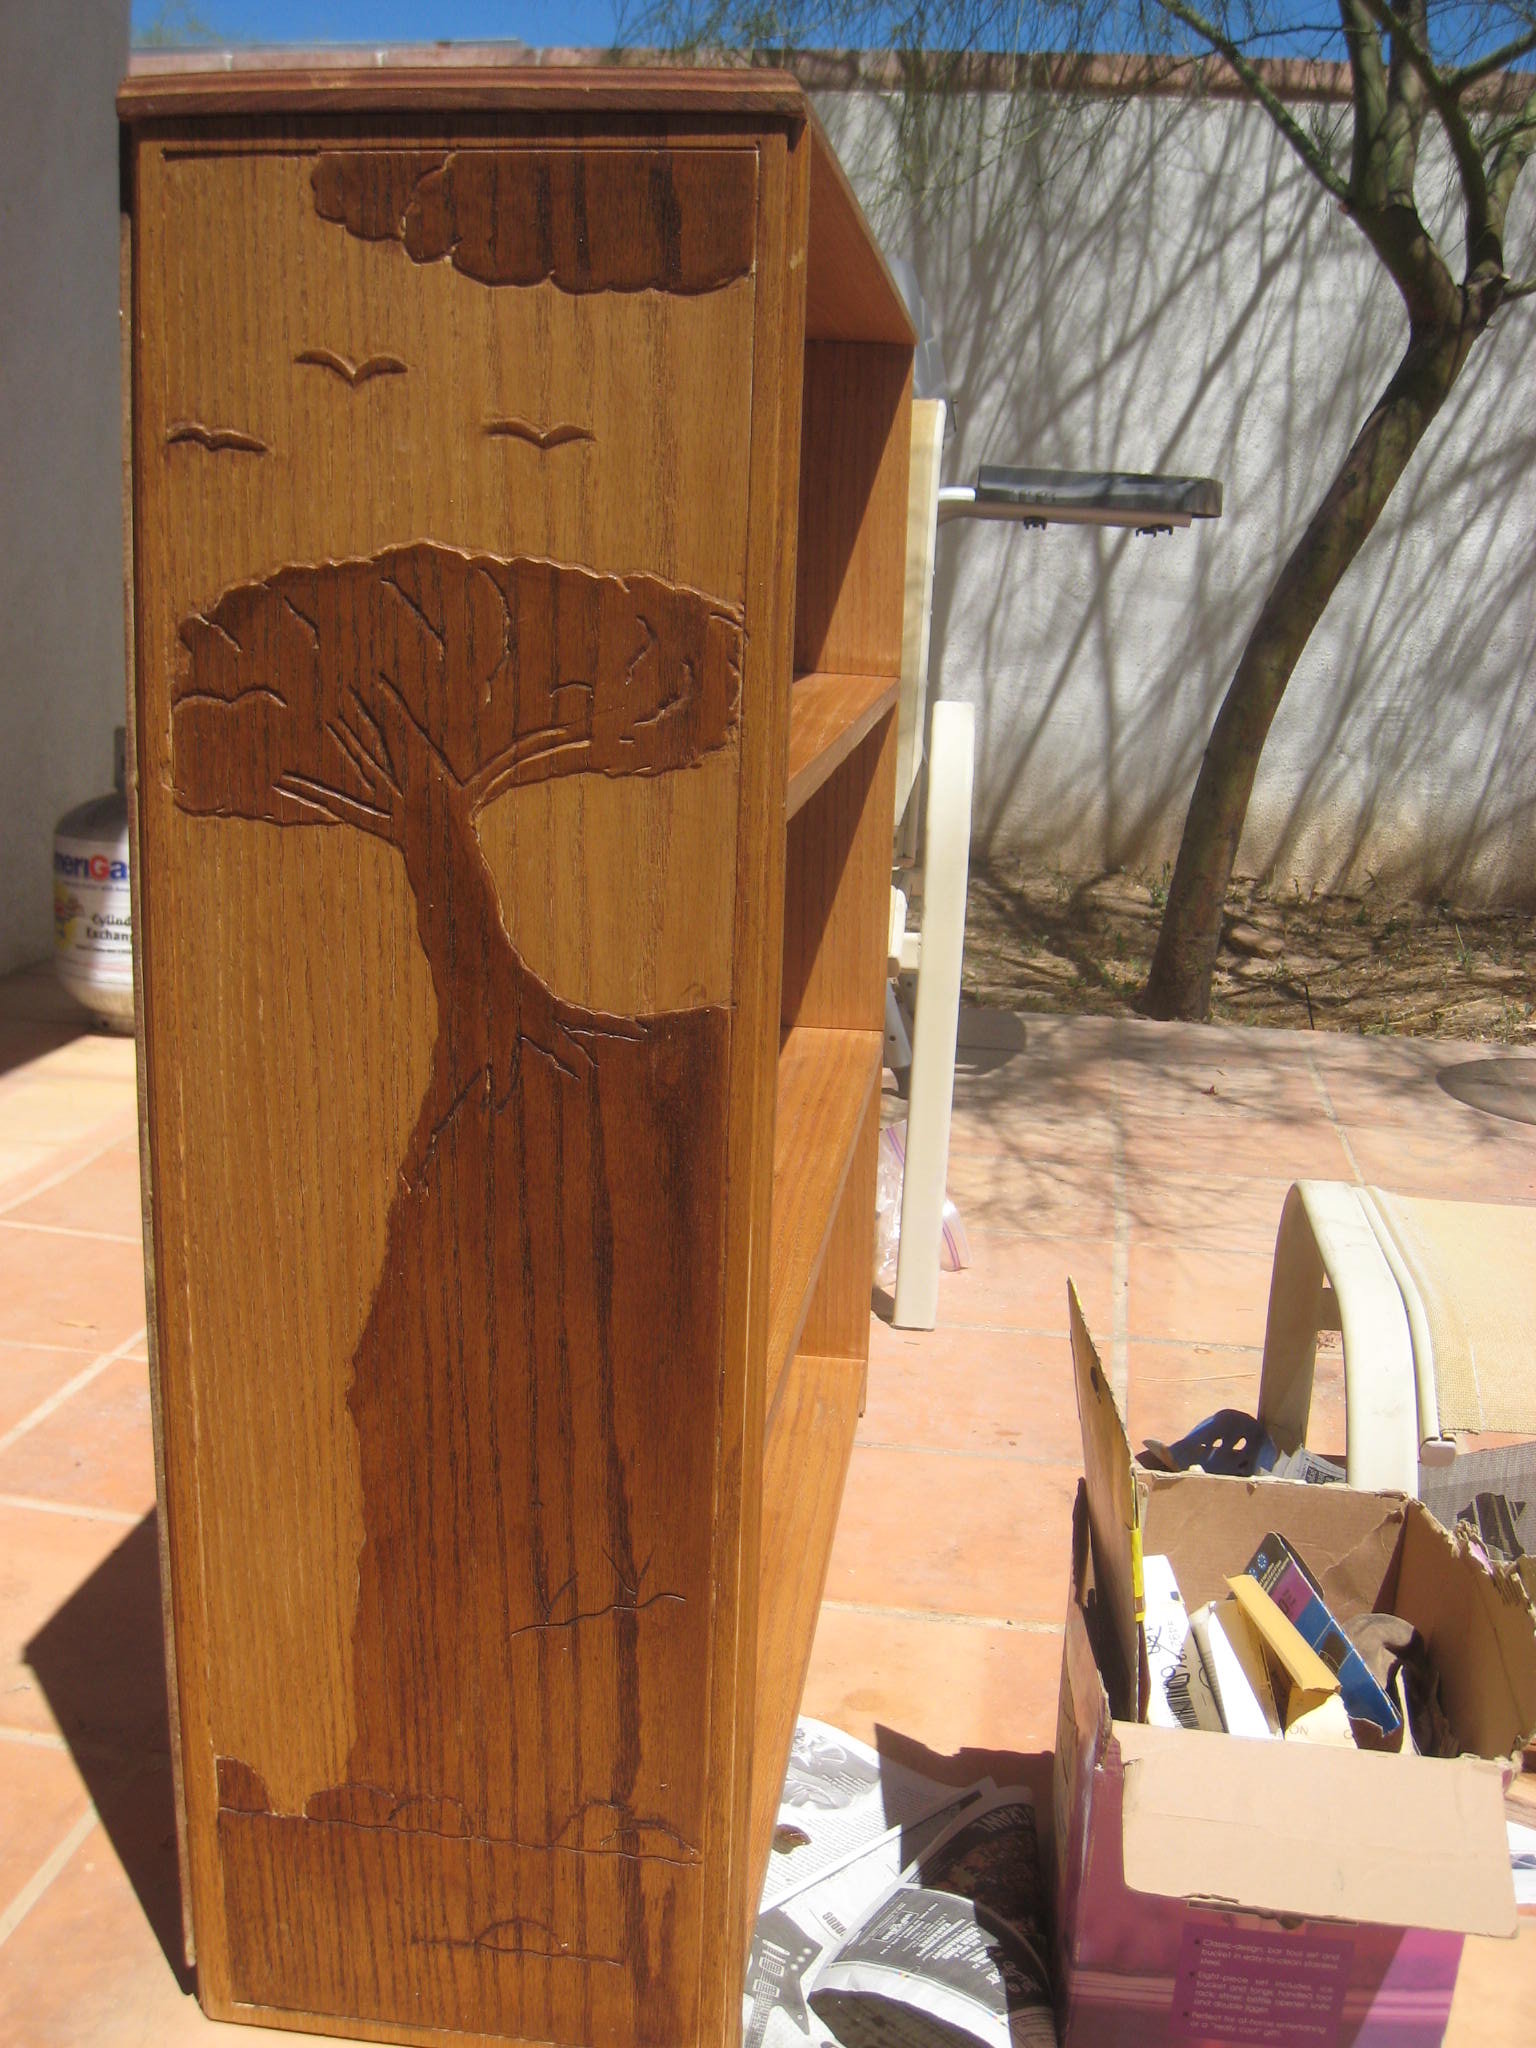
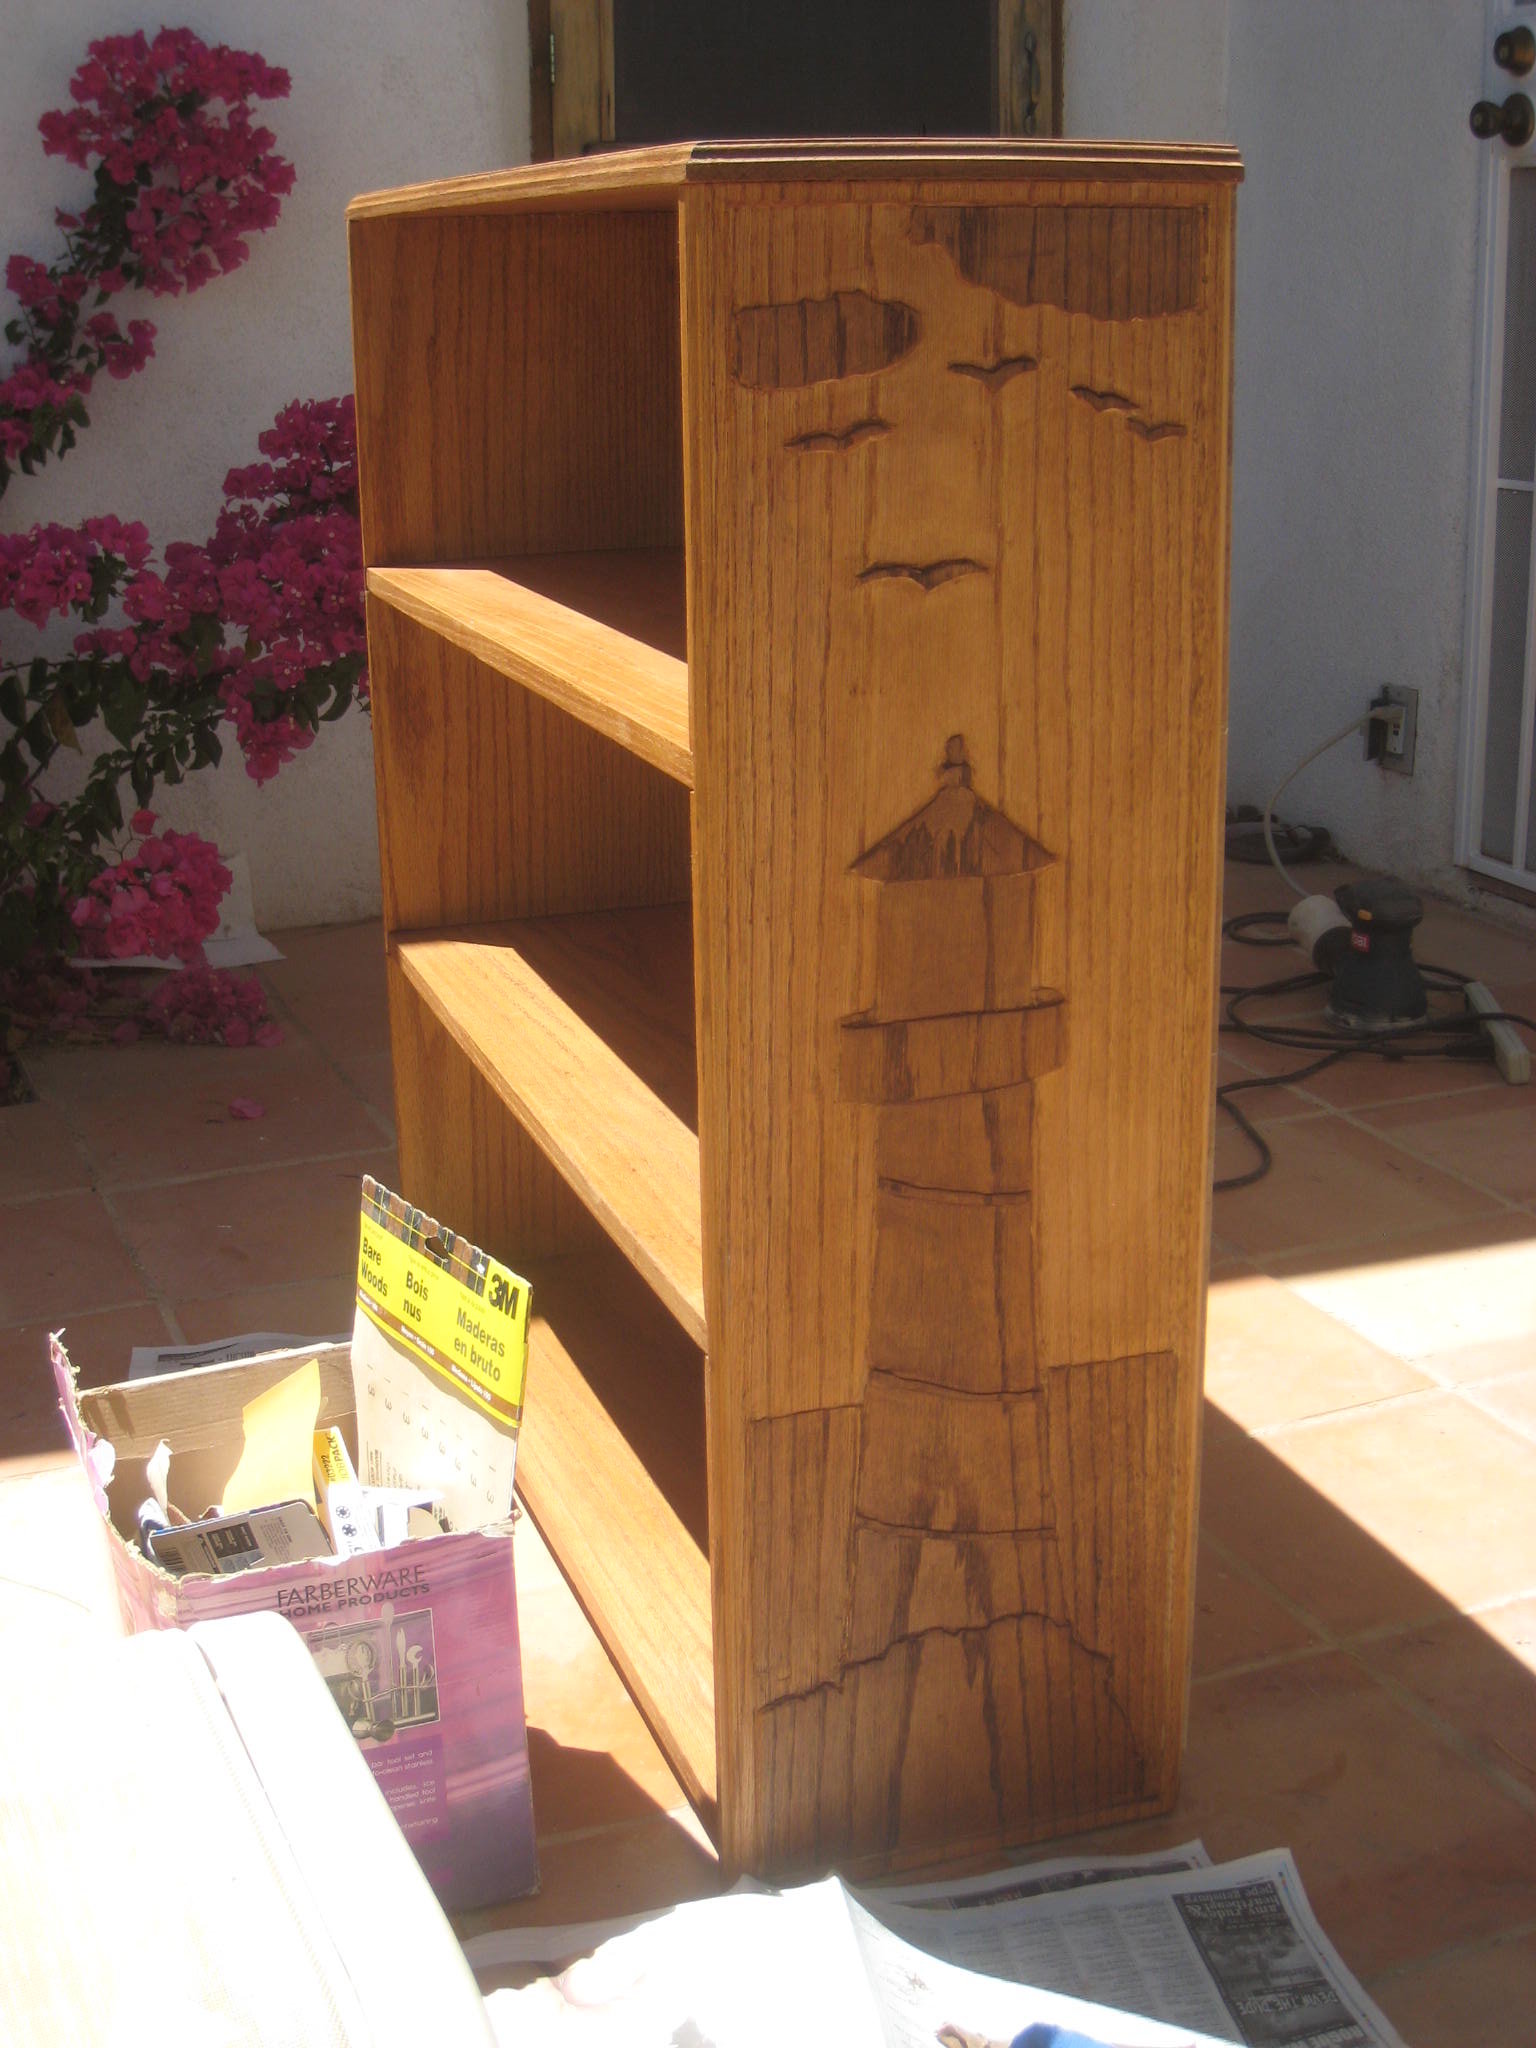
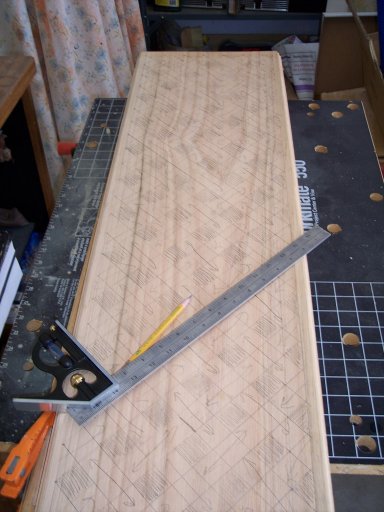
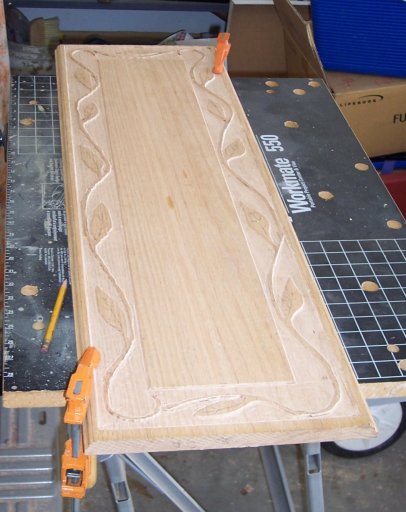
Here’s my fifth oak bookcase, which I finished (after a long half-done hiatus) in May 2010. The scenery on the sides is in bas-relief, done with router, hammer and chisel, and two-toned staining.
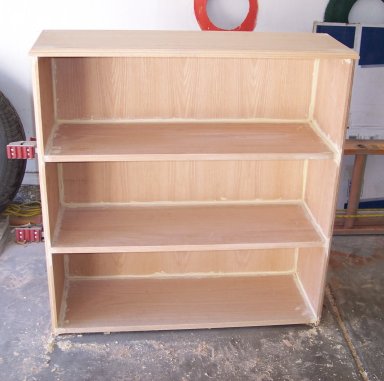
Here is my fourth oak bookcase, which I made in August of 2006.
These are the sides in progress:
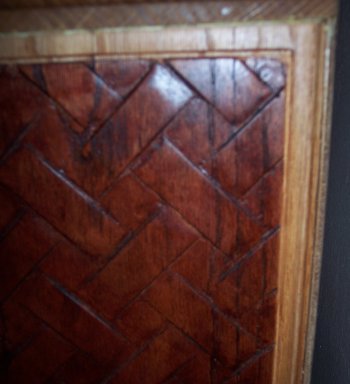
After wood filler, before staining (and before sanding off the extra filler):
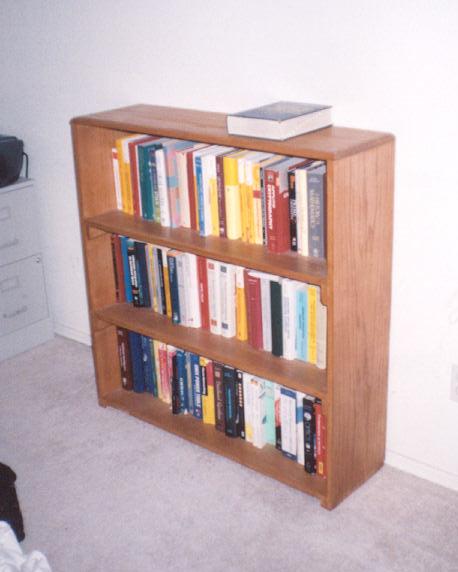
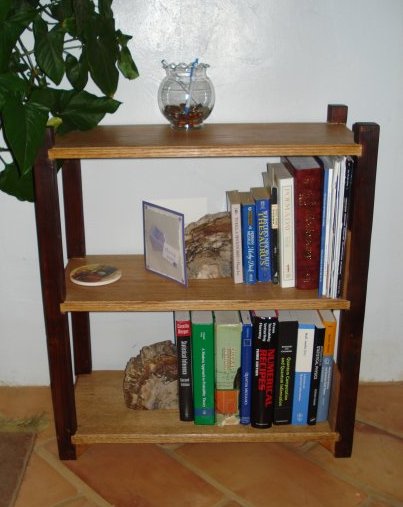
Here is the finished product:
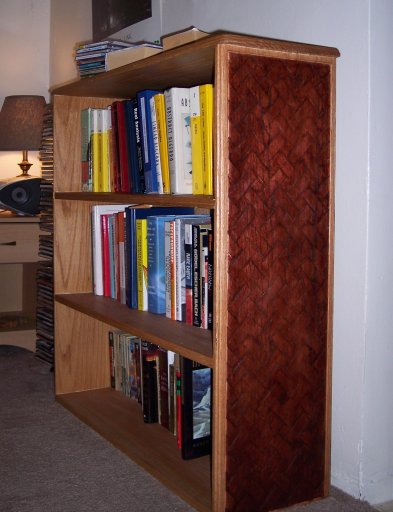
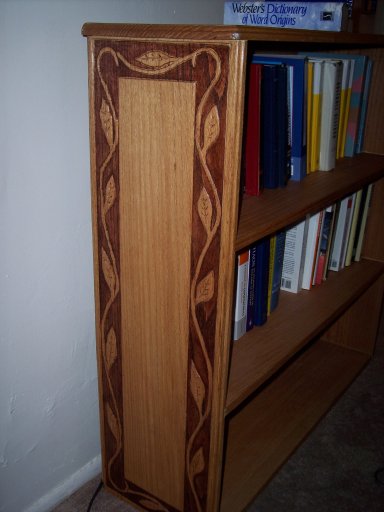
Here’s a detail of the right side:
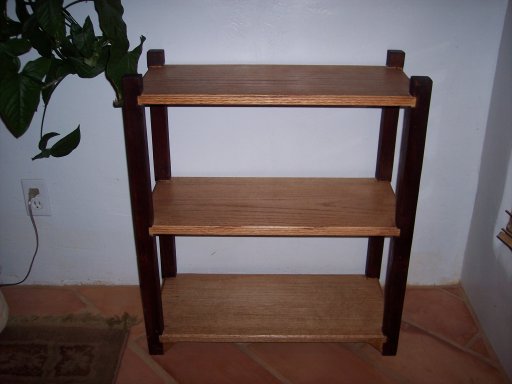
Here’s the third bookcase I made, in October 2001.
This is a pair of doll cribs, of mixed woods. The hearts are an application of circles with tangent lines. The flowers were hand-drawn; ladybugs and butterflies were copied from a children’s coloring kit. The drawings were then routed with a wedge bit and hand-painted.
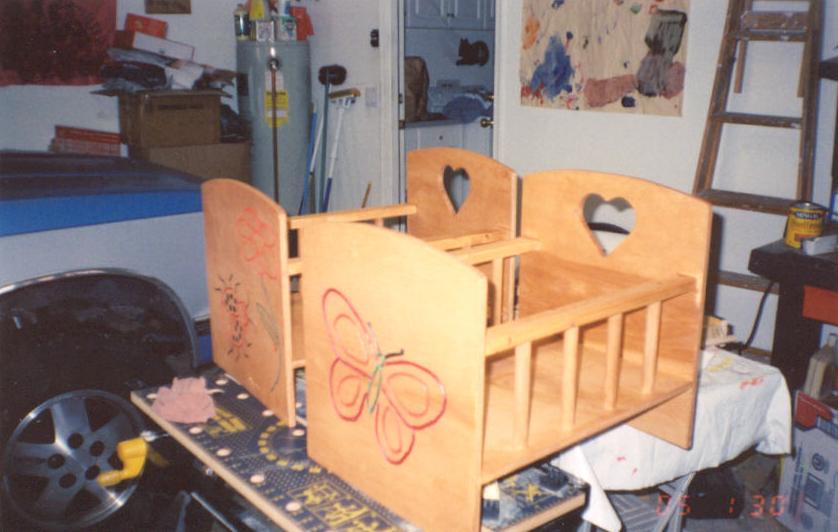
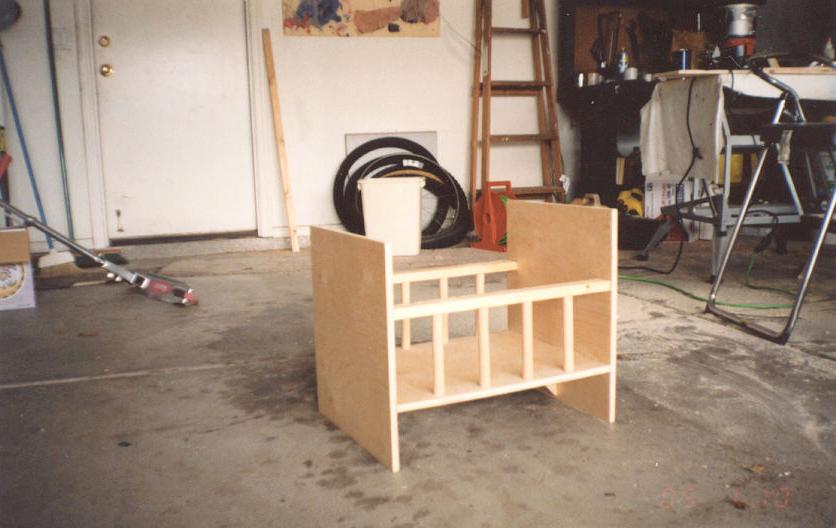
Assembled doll crib, before staining and painting. The joinery was done by router, wide drill bits, and wood glue.
This little bas-relief plaque (2007) is a math joke involving my initials and one of the rules for quaternionic arithmetic.

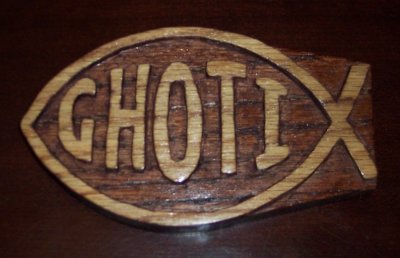
This is another little bas-relief plaque: it’s an old joke about English spelling. Do a web search for ghoti to get the joke.
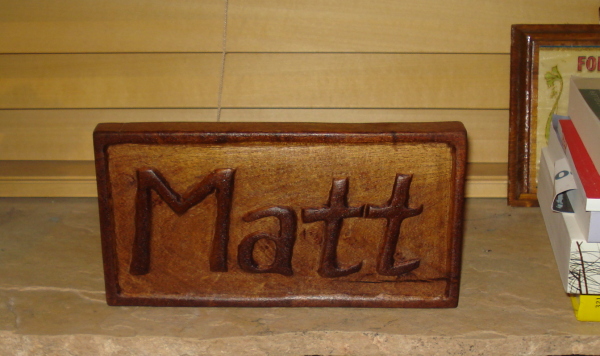
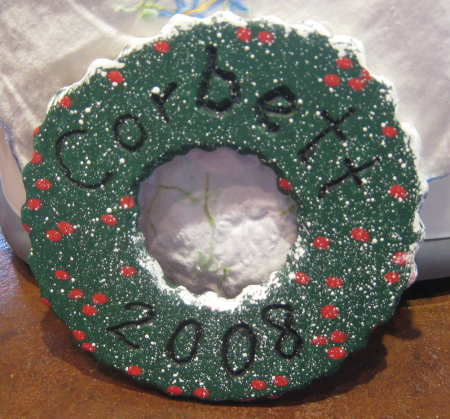
No geek jokes — just a name plaque. (Summer 2008.)
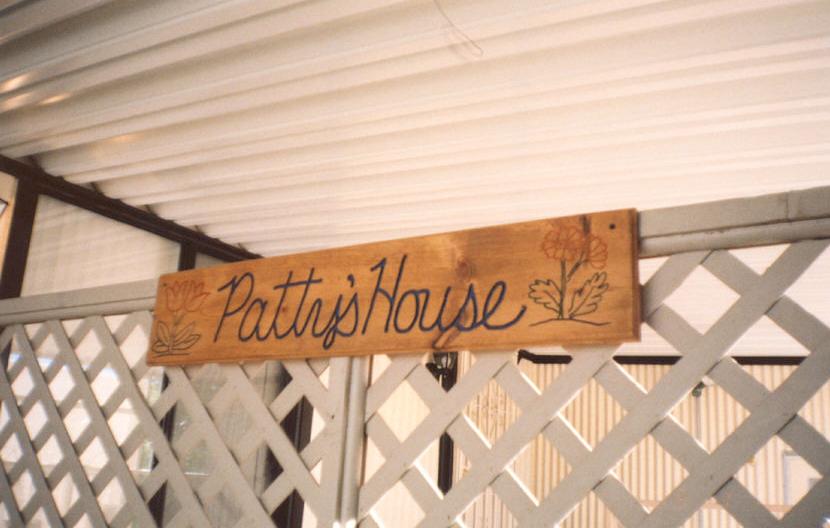
Here is an entrance sign. This was also hand-drawn, wedge-routed, hand-painted, and stained.
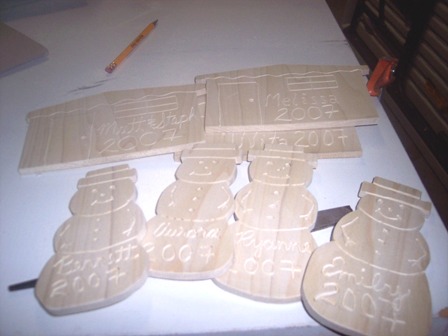
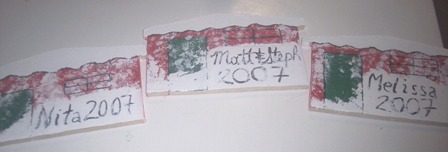
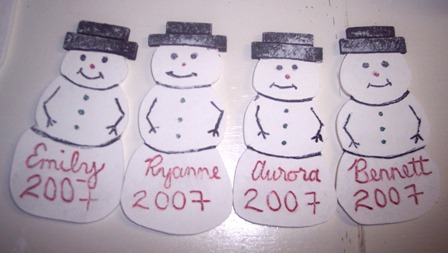
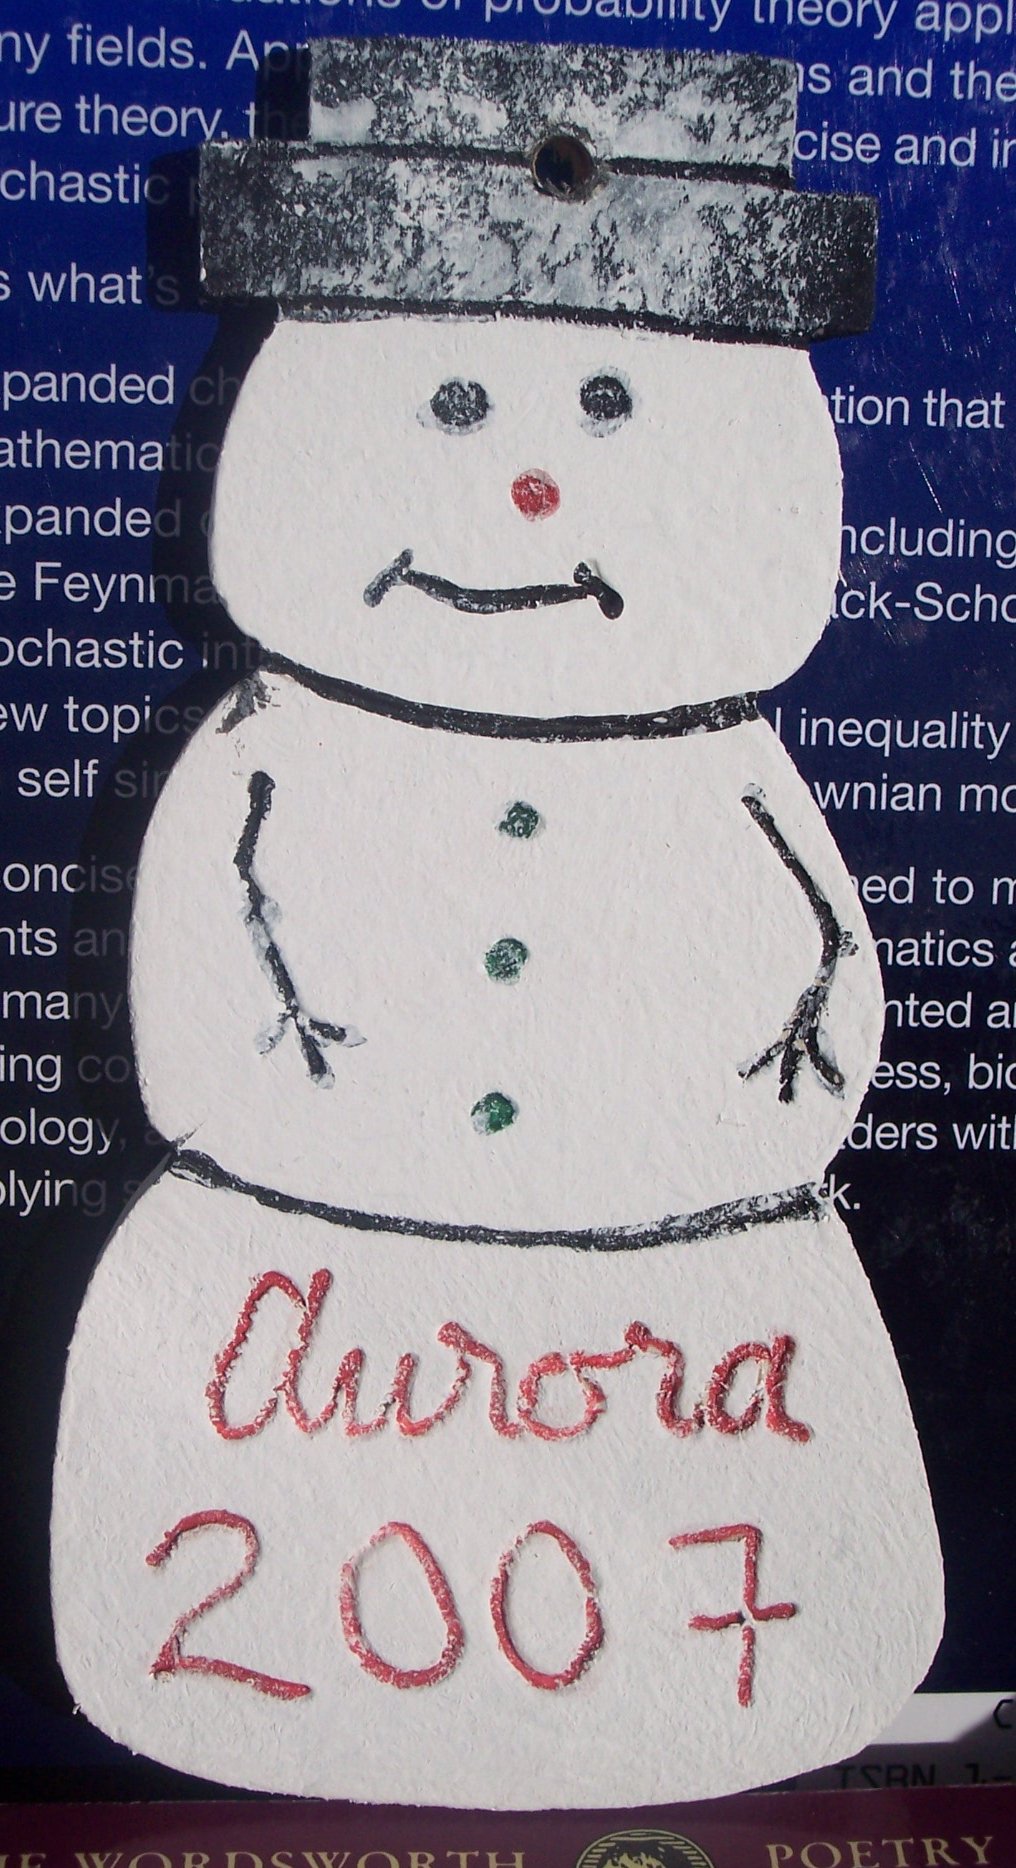
These are some Christmas-tree ornaments (2007). Ingredients: 1/4” poplar, pencil, jigsaw, router, and four colors of craft paint.
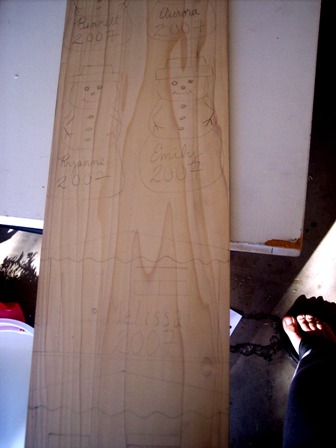

The next year: a new nephew!
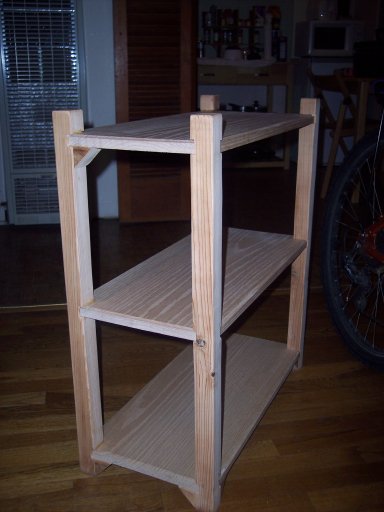
In 2007, my 8-year-old daughter asked Santa for (among other things) some wood so that she could make something with her daddy. Santa complied by leaving some oak planking and a design.


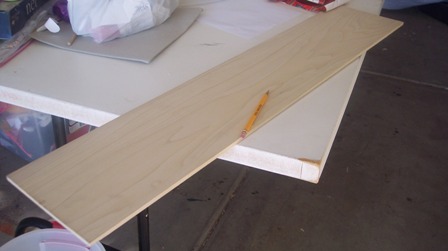
This is a simple little shelf (2008), shown before and after two-toned staining.
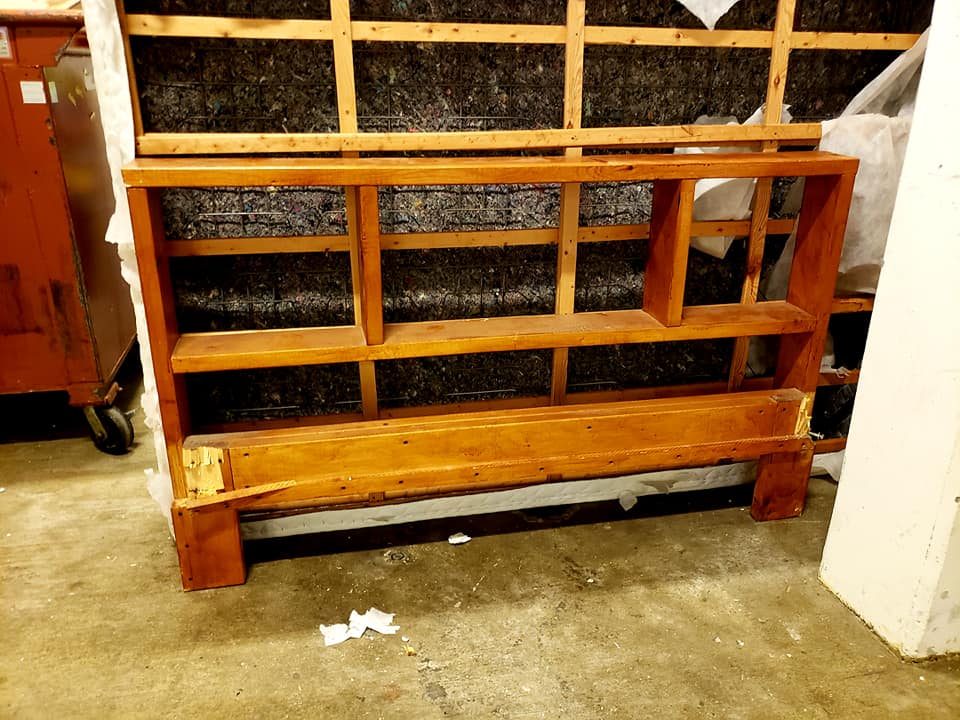
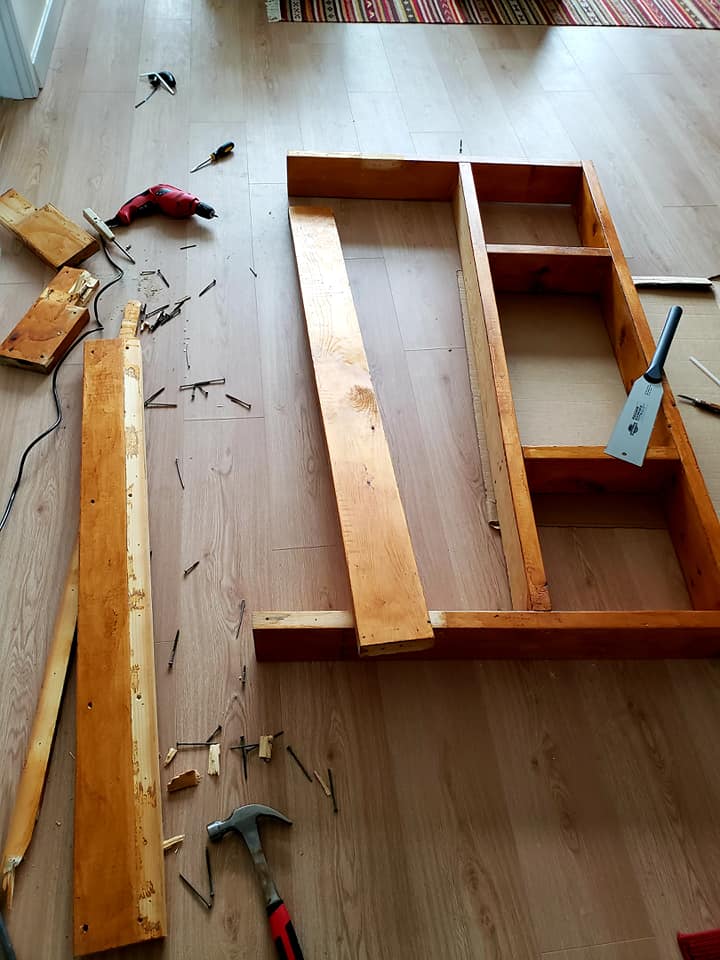
2019: This was a castoff headboard. I split it in half and joined the sides; moved some of the posts; added a third row; sanded, re-stained, and re-varnished it.
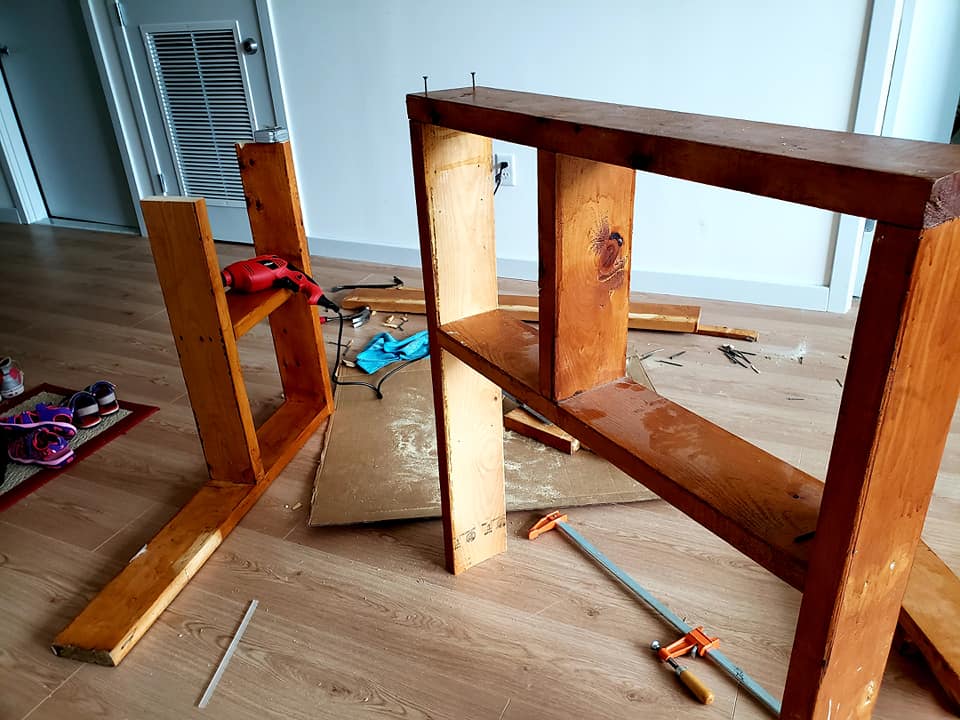
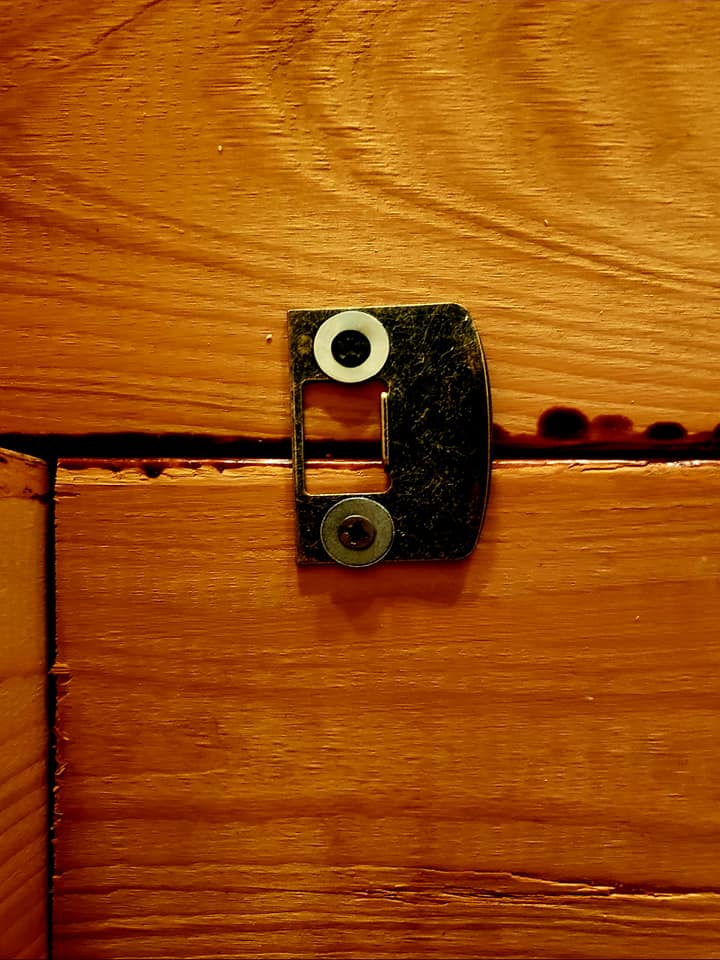

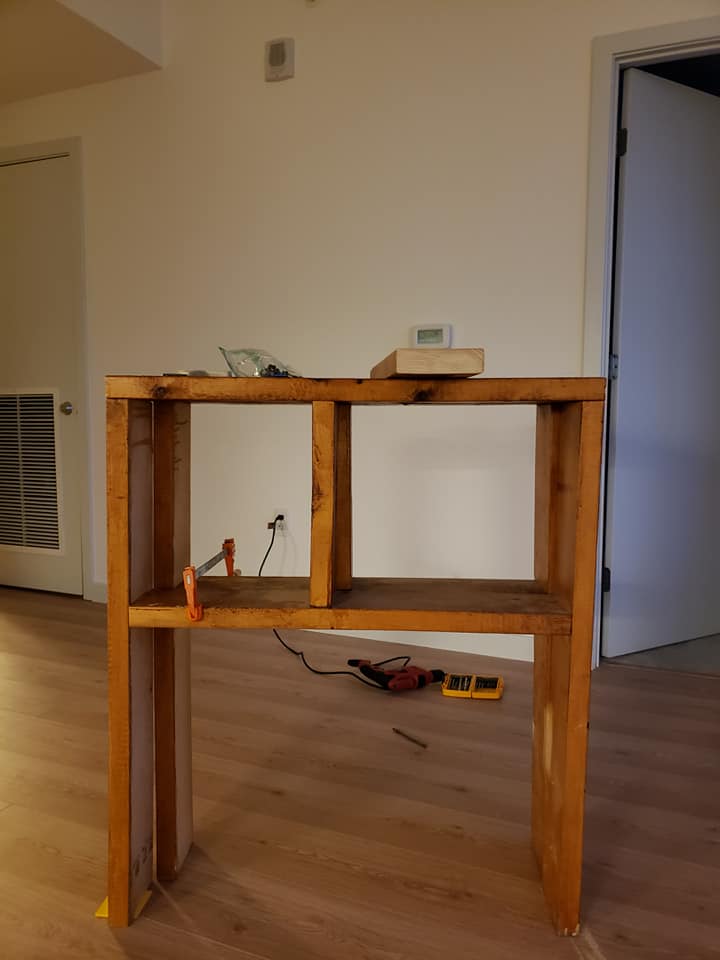
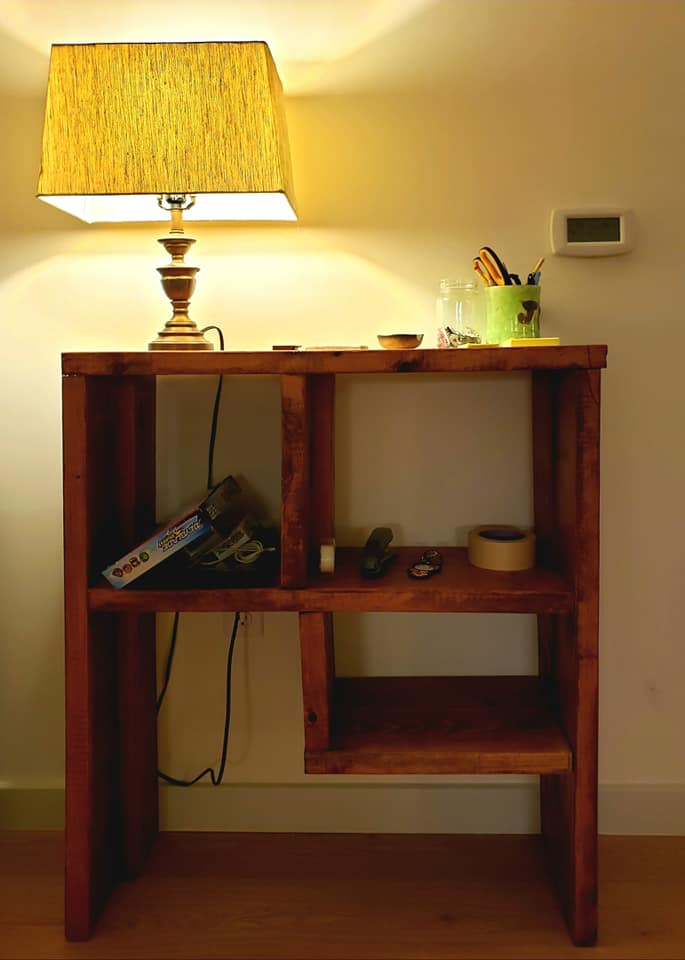

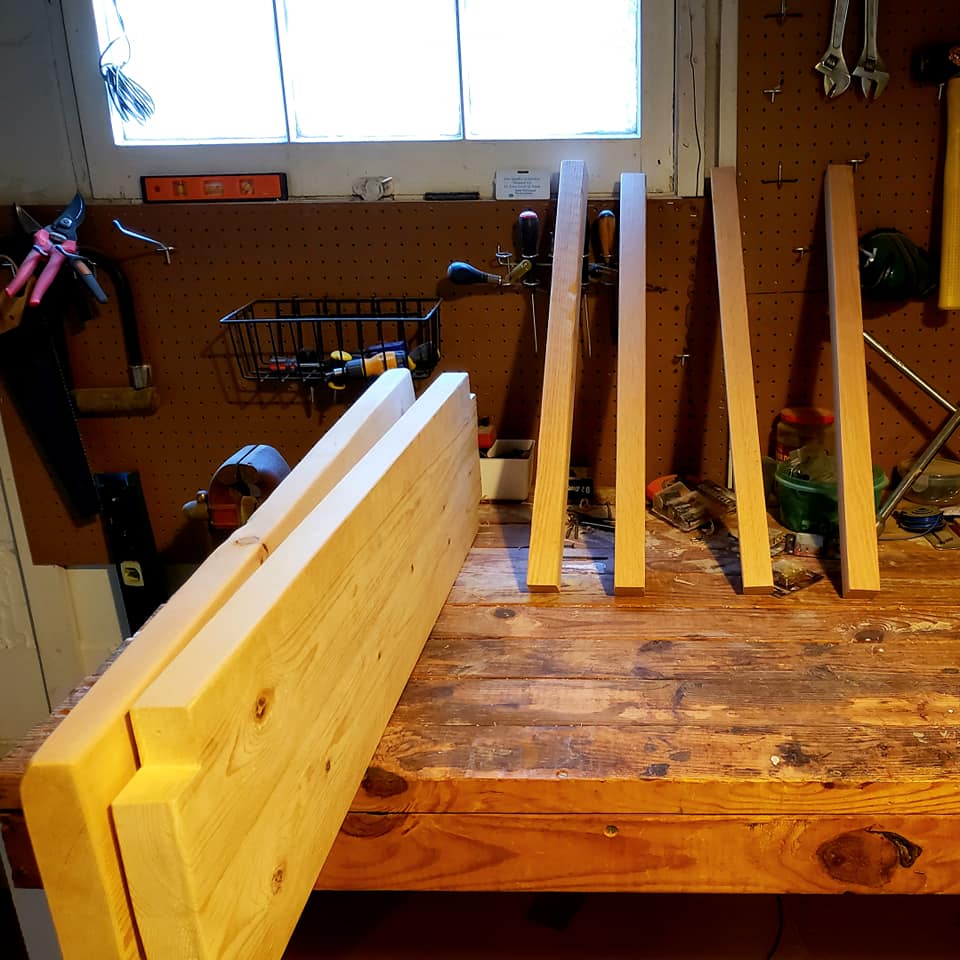
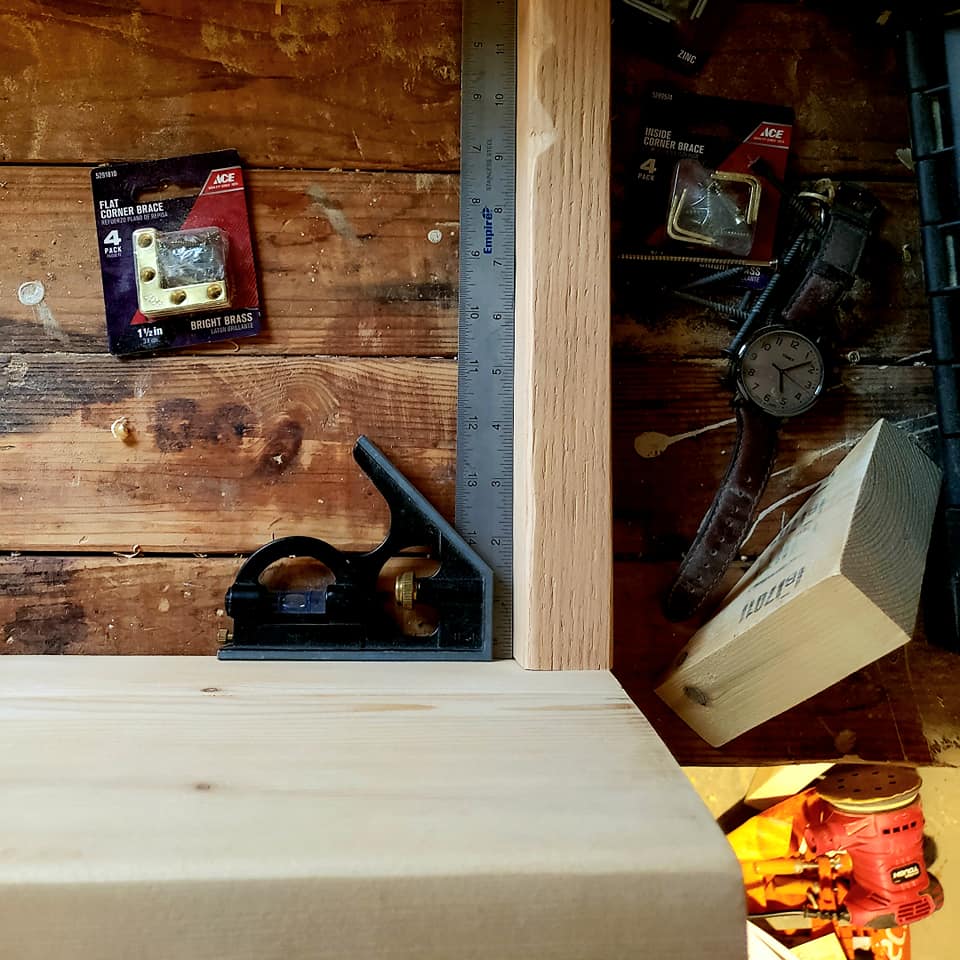
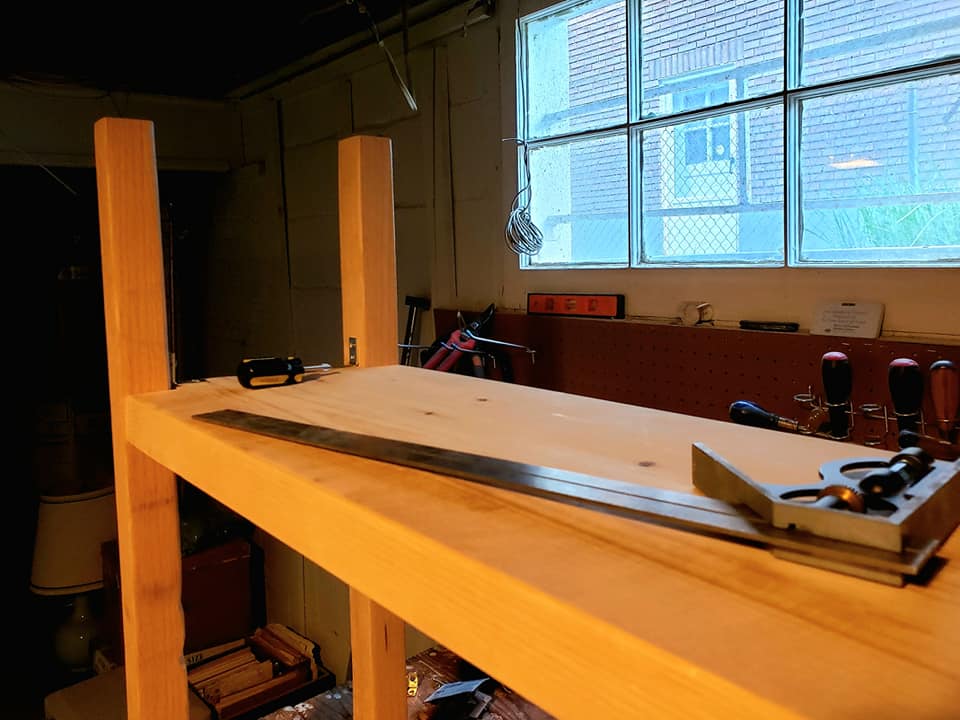
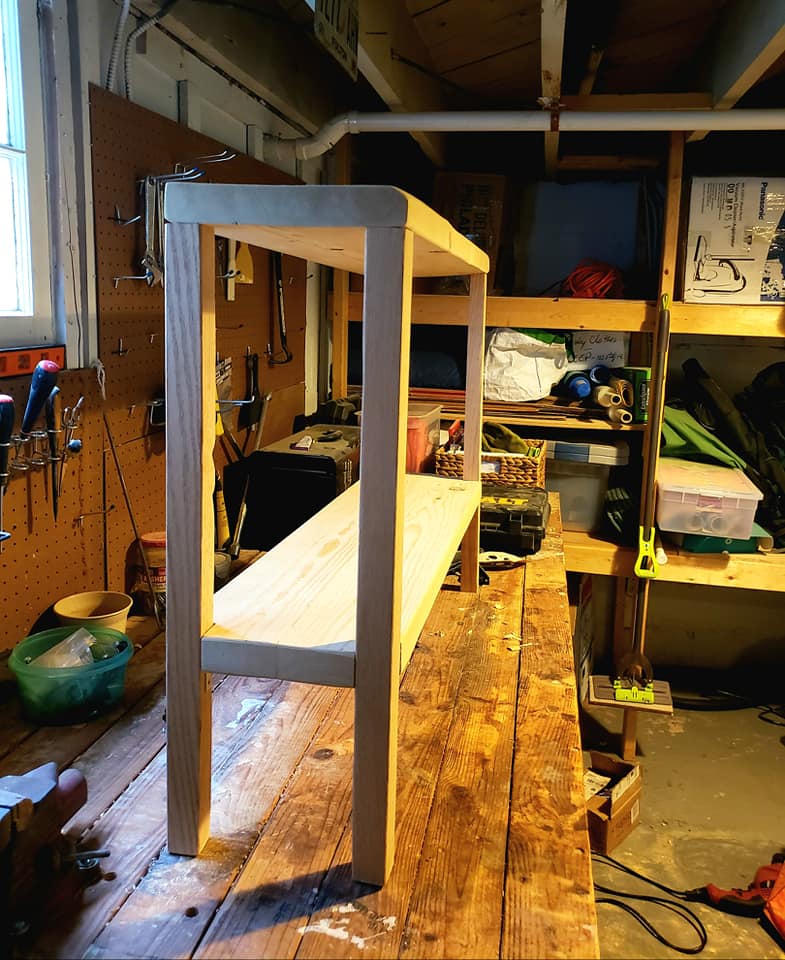
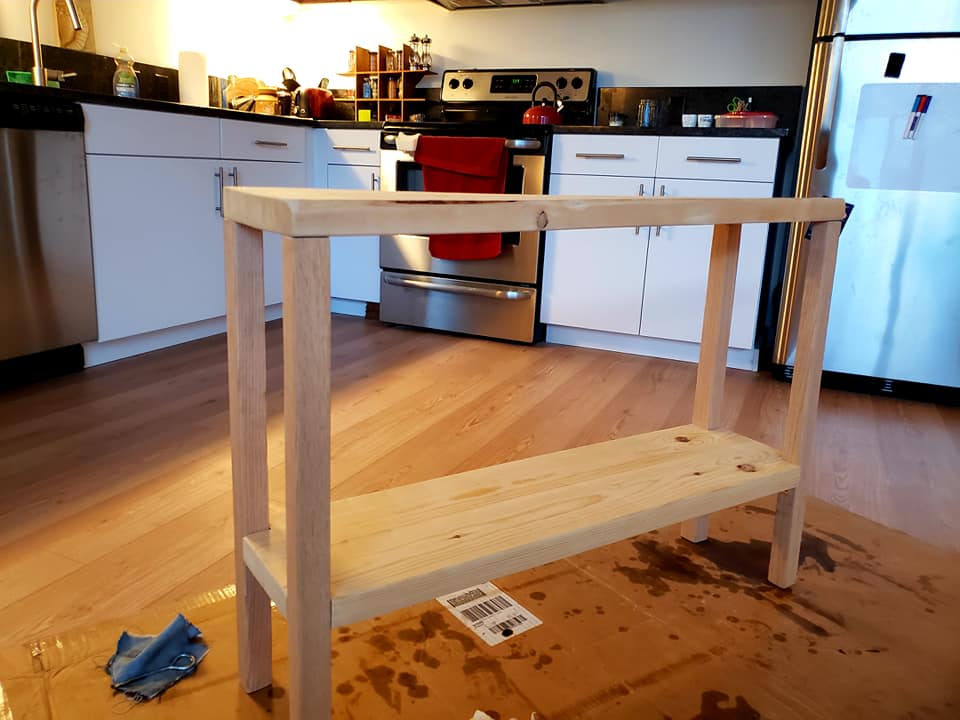
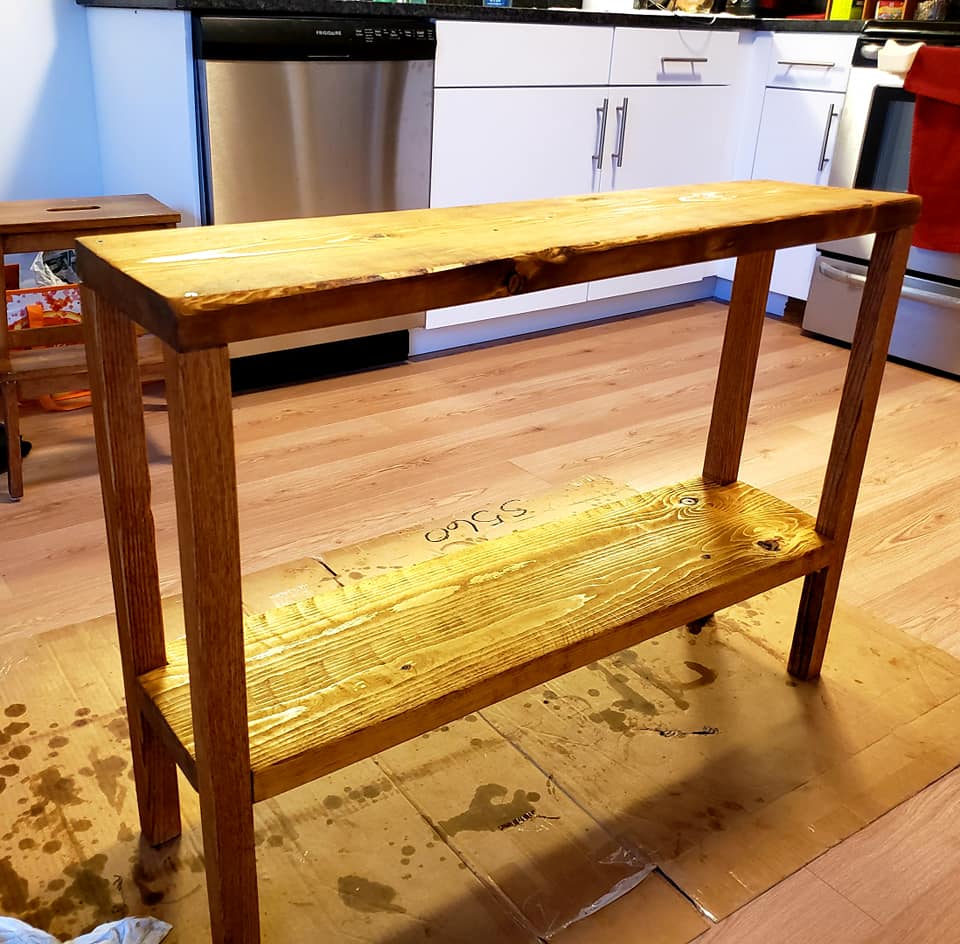
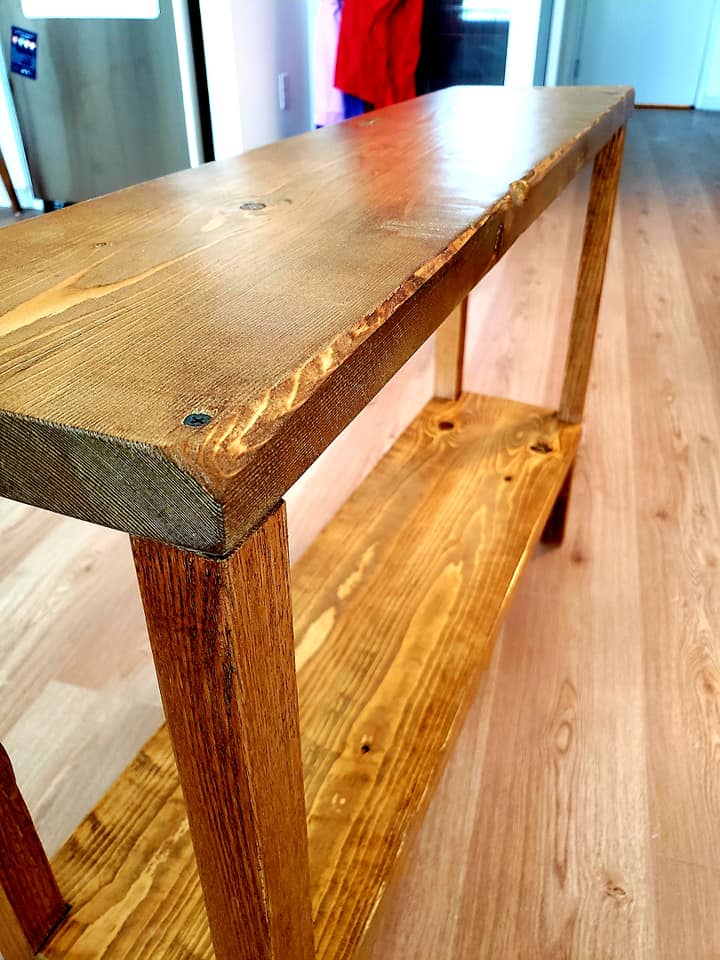
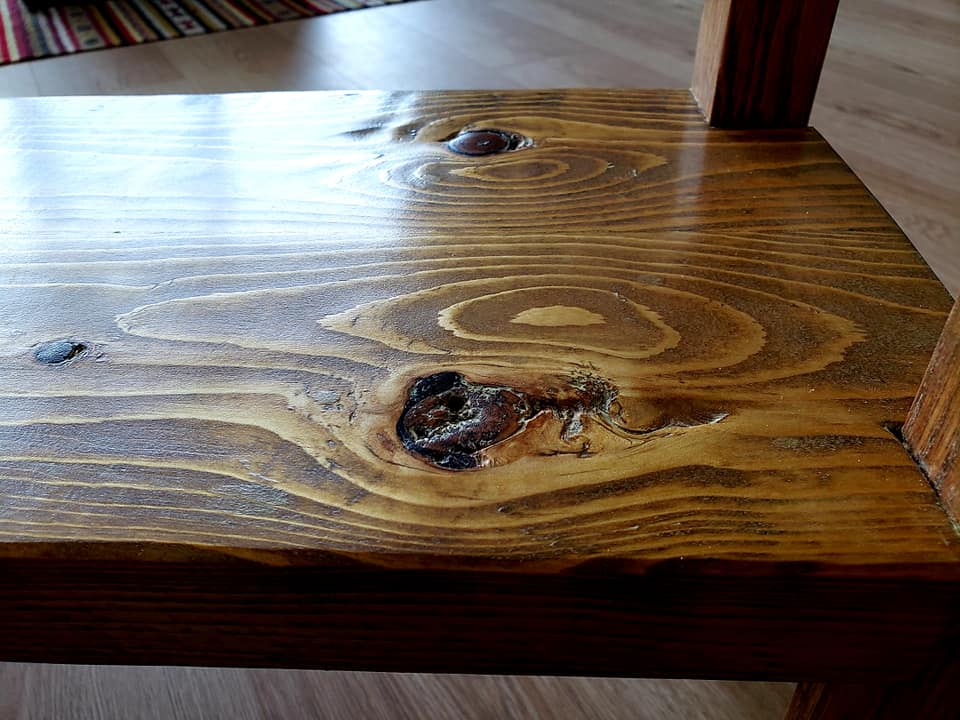
2019: A quick project with some castoff lumber. The legs are oak and the flats (which are warped) are pine. Some jigsaw cuts, some planing, some angle brackets — and it's a table. Some stain and varnish — and it's prettier!


← Back